Converting to SU carbs
My car is a red 1975 MG B roadster. When I bought the car, it was still equipped with the factory single Zenith Stromberg Carb. I wanted to change this. So, Consulting with the mg-cars email list at team.net, I settled on Dual SU HIF type carbs. I had been debating between the twin HIF’s and a single downdraft Weber DGV, but I preferred the SU’s, and the list concurred. I was able to pick up a used pair from Virginia1 for a fair price last July, then ran out of funding for a while. For months, these carbs sat in my living room, until my car developed a nasty exhaust leak at the manifold. Instead of fixing it, I pushed ahead on the conversion project.
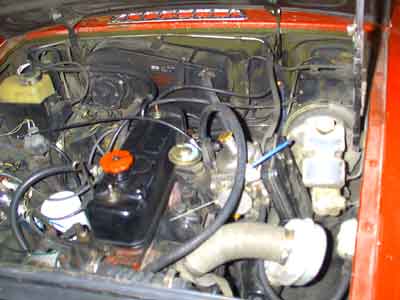
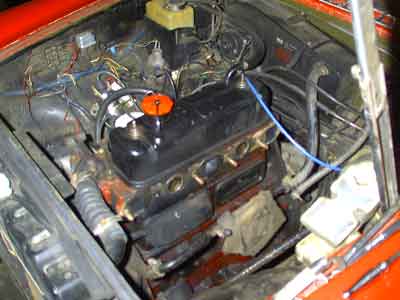
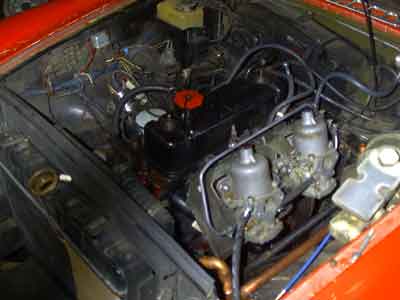
The engine bay with the Stromberg installed
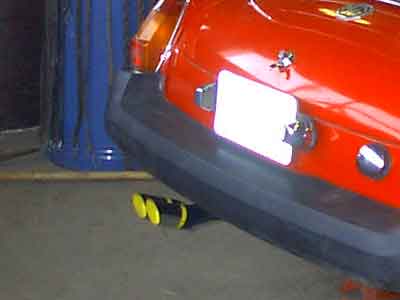
A previous owner had converted the exhaust from the stock system to one
utilizing dual glasspacks from Blue Streak. They worked well, had had a
mellow, and not at all quiet tone. I liked it, but it was easier to buy
a new exhaust than to fit this one to the headers that replace the stock
manifold. I am keeping the old system around just in case the need for it
arises.
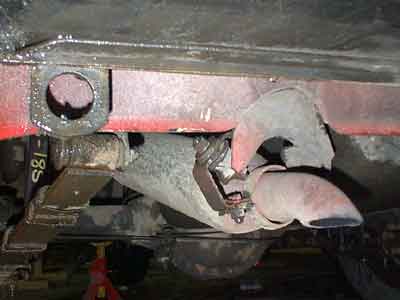
The previous tailpipe.
I had hoped that the removal of the Stomberg would be fairly easy. This was my first hassle.
Up to this point, I knew that the exhaust and intake manifold for the Z-S is integrated
together. However, it was here that I became painfully aware that the manifolds were
in fact 1 piece, and that I would have to take off the exhaust pipe at the manifold
before I could wrest the thing from the car.
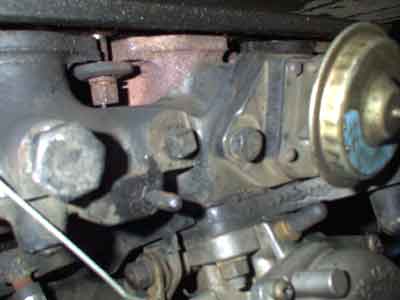
A close look at the intake/exhaust manifold directly behind the carb.
As I said, the spur that moved this project along was a nasty exhaust leak right at the manifold. It was at the point where I had a clean air filter look quite dirty in 2-3 weeks, and completely clogged in a few months.
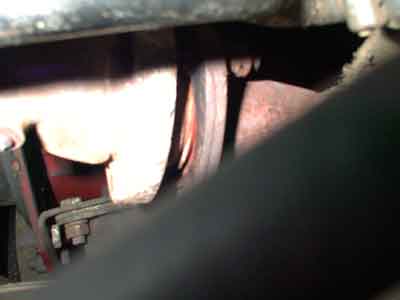
Personally, I think this is a really bad design anyway.
Now that the mass of manifolds is removed, I can see what the side of the block looks like. A little oily, but nice. B engines are really tall, one never notices this until all the stuff that makes them look wider is removed.
I still need to work out what to do with that heater return line.
The Stromberg removed from the car. Note the air filter assembly off to the side. Also note the length of exhaust pipe still attached to the manifold. The pipe just refused to move in
such a way for me to get to the nut on the last stud, so I took drastic measures. In retrospect, I would have had to cut the exhaust pipe anyway, so I don’t feel too bad about it.
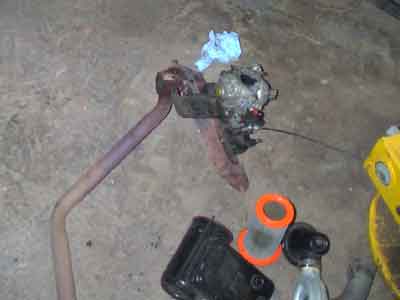
That filter has less than 1000 miles on it.
Once the old manifolds were removed, reconstruction was easy. I only had to clean the head of old gasket and install a new one. Then it was just a matter of bolting things together.
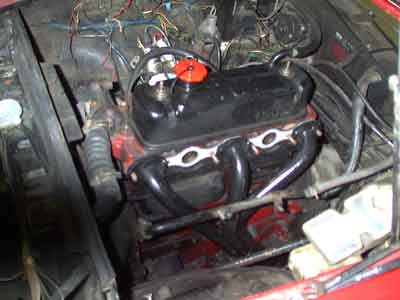
Things are starting to come together.
The intake was a little tricky. Like others that have done this, I found that the exhaust header was slightly thicker than the intake. I had to compensate. Fortunately, the lists
rescued me again, and I only had to cut a washer in half, and use it as a half-spacer to make the intake tall enough to be flush2.
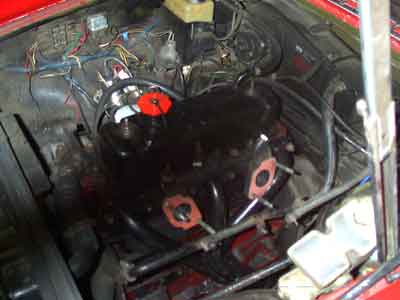
It is dark, but the intake is on.
From there, it was just a matter of cleaning and installing. All my intake parts were used, so I had to clean the old gasket material from them before I could mount them. Even with this, it took much less time to install than it took to remove what was there before.
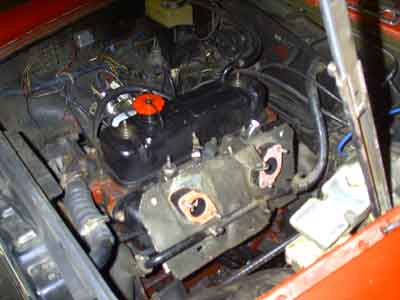
At this point, things are going smoothly. I wasn’t worried about the heater return for some reason.
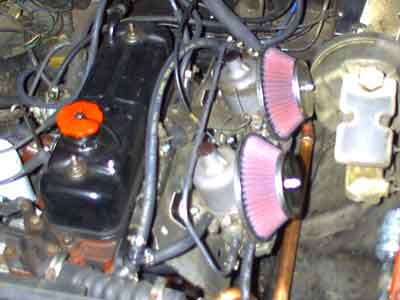
It was here that I hit my most serious problem. The K&N filters (56-9320) that I bought for this application don’t fit the rear carb. The brake booster (which a previous owner had
disconnected, and I don’t feel the need to refit) is in the way. I was afraid this would happen, but didn’t plan on it 3. I could only stop, and email a friend
on the east coast that happened to tell me he would sell them cheap4. Urg. To complicate matters, while attaching the anti-run on valve (which was not connected
to the Zenith setup, but does work), I broke the plastic control line connector. Woe is me.
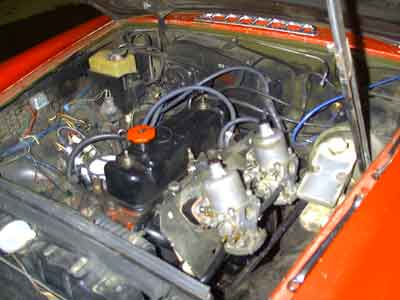
When I realized the Filters wouldn’t fit, I stopped connecting the bits…
After exhausting my work under the bonnet, I moved to the exhaust. The first pipe was too long, and I had to cut the header pipe to fit, but that was not an issue.
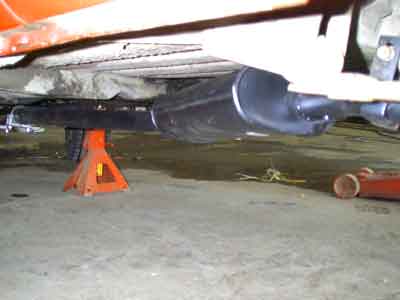
I’m not done here, the exhaust still needs to tuck up to the body a wee bit more.
The rear pipe was more complex. It was designed to bolt onto the stock hanger (as seen above), but it was much too low for my tastes. With a little help from my friends, I modified the hangers on the rear pipe to attach to the stock mounting points (but replace much of the stock hanger at the same time). Unfortunately, I broke a rubber shock absorber, so I couldn’t hang the pipe at this point.
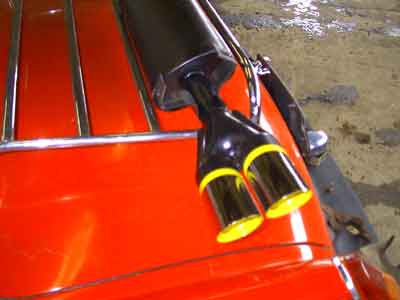
I am still not too sure about the crome tips.
Looking carefully, you can see the new copper piping created to reroute the heater return around the floats. It didn’t quite clear the steering column u-joint, so later had to hang the pipe to the brake booster with a short lenght of baling wire. Some time I will have to come up with something more permanent, but this works well for now.
This time it will work!
Once I got really going, the exhaust was relatively easy to hook up. It still sits a little low for my tastes, but I can live with it.
Oh, and it does sound nice.
With the thinner spacers, the K&N filter in the rear carb just fit. Actually, it
didn’t quite fit, but with the car out of tune, the vibration of the engine crunched
the filter (not enough to affect performance), so now it has some clearance. All
and all, a very long, but well spent 3 weeks. This picture was actually taken before
the first test run. During that run, I discovered (the hard way) that I had a bad
float, and had to be towed. One week later, I had the parts I needed and refit the
carbs for another run. That one went quite well.
This is pretty much it. I have installed a fuel pressure regulator, proper heater return lines and some baling wire since this picture, but this covers the juicy bits.
Post-op work
I have bought a new run-on valve (to replace the one I broke). 5
I had a rough tune to get me to Tacoma, where I had Brooklands British tune it properly. The car runs very well now, and seems to be just as happy (aside from some cooling issues) now that it is summer as it was in the winter months.
I got the stock heater return pipe and installed it. As a bonus, I have heat!
Headers suck. A lot. I ripped the cheap header out of my car, installed a stock manifold, and took the car to a professional to get the exhaust refitted. It’s much better now, and the sound, oooh the sound. Much more mellow, the cast manifold soften things nicely.
Also, the tailpipe finally hangs from the back of the car as it should.
To further my bolt-on power trip (camshaft will be replaced eventually, but I will wear the current one out a bit first), I have moved from the Mallory coil the previous owner installed to a new 40KV Lucas Sport. I am a sucker for golden colored shiny things. This is coupled with a new “Euro-spec” distributor as sold by Brit-tek. I still need to modify the carbs so that I can run the vacuum advance from the rear carb (rather than the manifold), as the distributer would work better that way.
I also plan on removing the (unused) brake booster, by moving to the dual-line, non-servo assisted unit used by the MG car company from 71 (I think) to ‘74. I am having trouble with my rear carb mashing against the booster, despite the spacers. I would like to run ram-pipes to decrease turbulance through the carb, and the booster is preventing this too.
-
Stefan Roudy sold me 2 HIF4 carbs, the intake manifold, the exhaust manifold, and linkages for $150. They needed a rebuild, but I expected that, and he told me that they would up front anyway. ↩
-
Bill Saidel told me of this trick he learned from another lister. He used a dremel. I used a hacksaw. ↩
-
Steve Shoyer has done this conversion himself. I read his email and website, and yet ignored his need for the shorter spacers. Oops. ↩
-
Bill Saidel had ordered the smaller spacers for his conversion, but hacked on his rear K&N filter to make it fit. Since he took a table saw to his filter, I got his spare parts for a nominal price. ↩
-
Mark LaPierre did the same, and used JB Weld to good results. In his email, he warned me to “release the clamp before I pull on the tube next time” (as a joke of course). Bob Howard also told me this is safe to do. Steve Conley (a University of Washingtion Alum, but I won’t hold that against him) wrote that he had broken the same part, but just replaced it for the piece of mind. Being the broke bastard I am, this really didn’t help me. :) In the end, he was right. I ended up doing the same. ↩