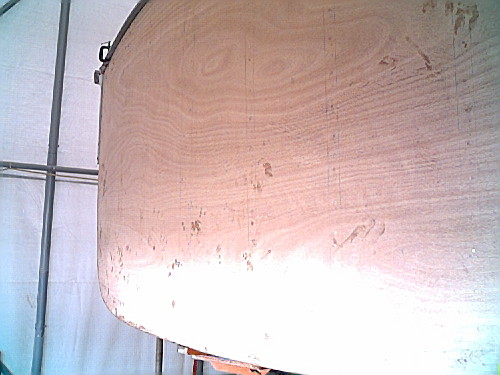
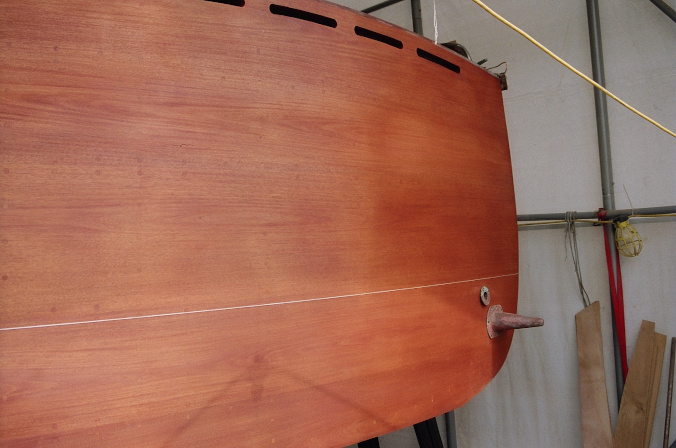
The Hull Rebuild
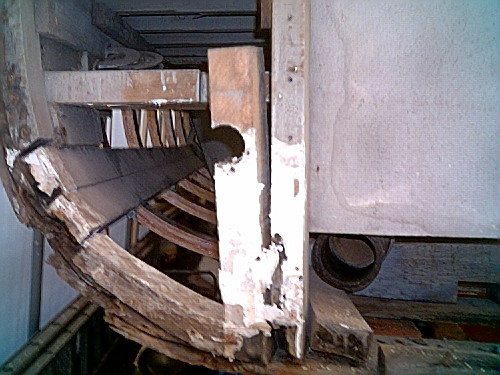
When the frames were discovered to be bad, we put the boat in a shed in Nyack where it was out of the weather and I could work on it. One of the first big jobs was to get the planks off the rotten frames in a manner that didn't destroy the planks. Most of the planks were in good shape. It rotted from the inside out. (To this day, I'm now mental about water in the bilge.) The first boat yard hacked apart the garboard planks (the ones next to the keel) and the next one out in order to quickly get to the frames in order to assess the condition. I stopped the job and decided to do the plank removal myself so that they would not be destroyed. This boat was built with 5/4" Philippine mahogany planks over steam bent oak frames. While the oak frames were rotted out at the bottom near the keel where the bilgewater was, the planks were in salt water and most of them were in good shape.
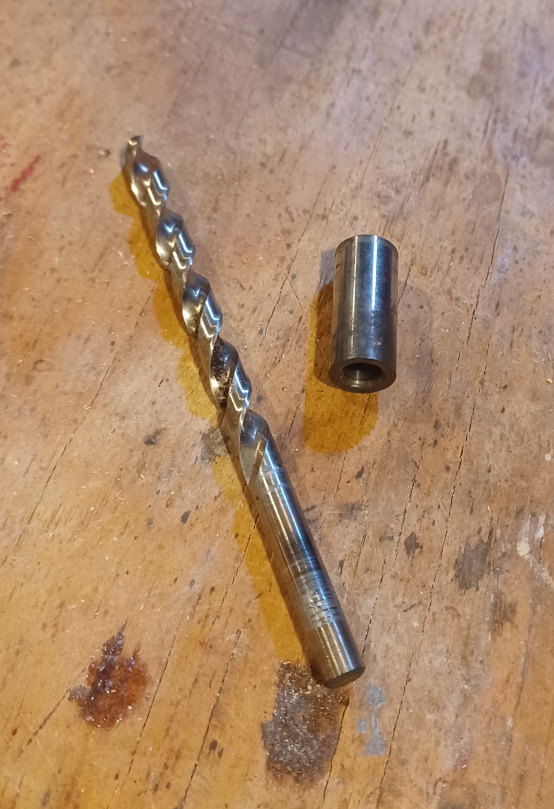
Here's the drill collar with a drill bit
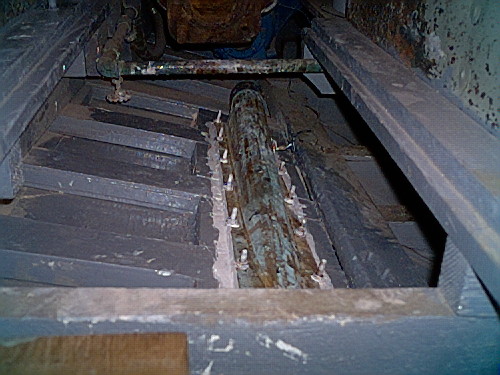
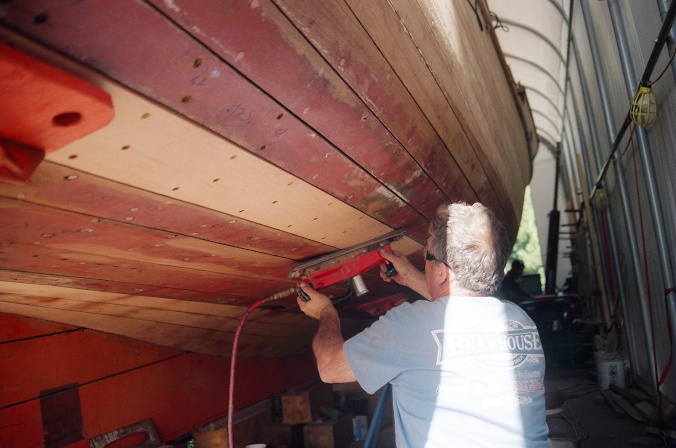
The plank removal took a few months of work. The first step was to remove the hundreds of wooden bungs covering the fasteners. Mary-Powel and I spent the long weekend of July 4th of 2000 removing bungs. After that, the job of getting the planks off one by one started. From the factory, the planks were held on by annulated monel nails. Monel is a type of nickel alloy that's impervious to seawater corrosion that's harder than today's marine metal: silicon bronze. Annulated means that the shaft of the nails had rings so that they gripped the wood. Since it's a nail and not a screw, it must be pulled out. Where the frames were spongy and rotten, this was easy. Each nail pulled out with needlenose plyers. Nevertheless, the rot was only at the very bottom of the boat where the bilgewater was. We needed to get much higher if we were going to replace each frame. Thanks to the annulation of the nails, they were impossible to pull out without breaking the plank. Therefore, the head of each nail needed to be drilled off in order to pull the plank off the remaining stubs of the nails.
Drilling off the nail heads was the bulk of the work. Thanks to friends at Pratt & Whitney, they made up two drill collars. You couldn't drill off a nail head in a hole without such a collar to stabilize the drill bit to keep it centered. You put the collar in the hole, dip the drill bit in oil or automatic transmission fluid to keep from overheating the drill and then start drilling where the collar holds the bit onto the center of the nail head. It usually took about 3-5 minutes per nail. In addition, you only got about 6-8 nails drilled per drill bit before the bit became too dull to use. There were several hundred nails to drill.
So you see the setup. I'd take off for a day of drilling heads with a basket of drill bits. Once a plank had had all of its nails drilled out, we could coax it off of the frames with a flat crowbar over the remaining stubs of the nails. This went on until we had removed planks from the keel up to most of the sides.
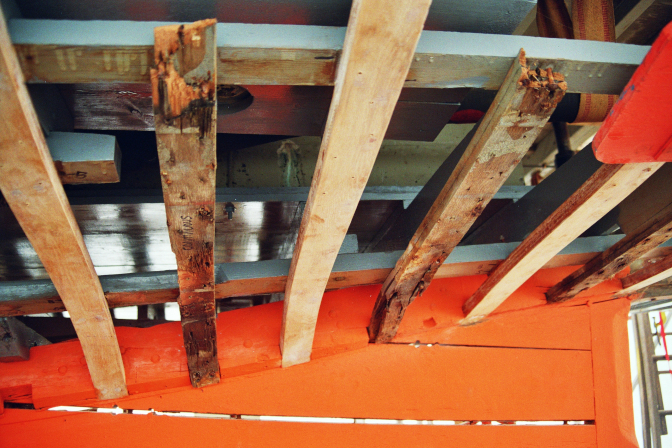
New frames going in around rotten ones
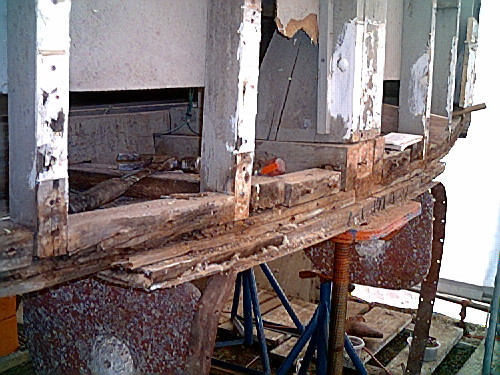
We did not need to remove all of the planks because we did not need to replace each entire frame. Instead of using 2-ply steam bent oak frames, we used 4-ply epoxy laminated oak frames. Since the existing oak frames were in good shape above the turn of the bilge, we could keep the upper most parts of the frames. Where the new 4-ply frames would meet the old 2-ply frames, we used a router to create a step notch so that each of the 4 layers would join the old frames at different points 6 inches apart. I got about 20 old frames prepped for new frames.
With the planks removed to the points needed and some old frames removed and the steps created for the new frames to go in, the boat was ready for the next phase of work. I had it trucked from Nyack, NY to Berkley, MA where Barry DeRosa was going to take over much of the work. I would drive up on weekends to work but he would be able to work on it during the week as well.
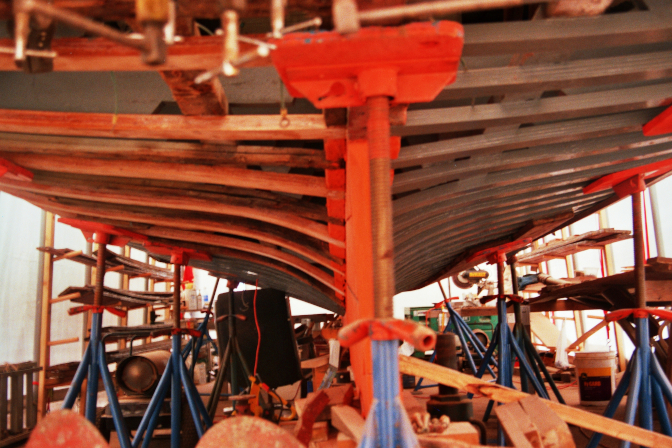
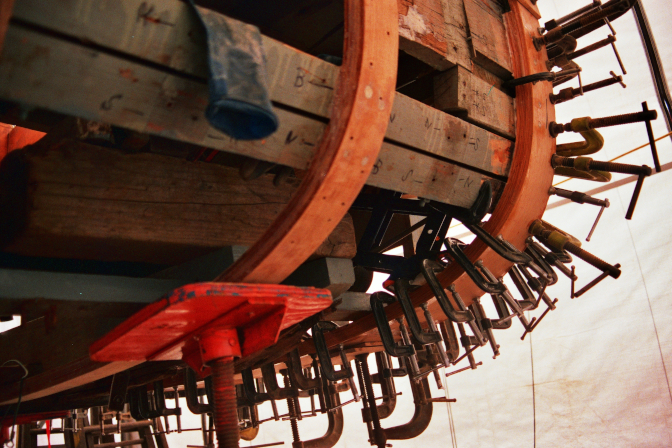
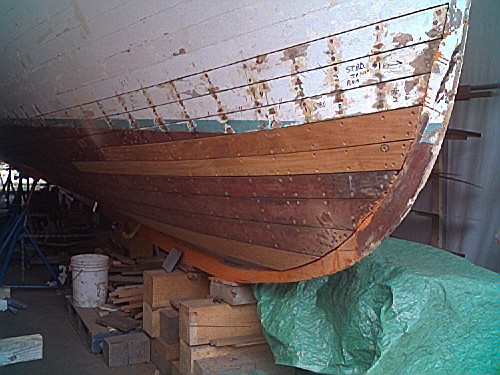
Overall: New frames seen from the rear
Now at its new work home in Massachusetts, we could work on the
process of replacing every other frame, leaving the alternate rotten
frame as a guide to the boat's shape. Then, once both sides have been
done, we returned to remove the remaining alternaing old frames.
The frames in the front half are half the width
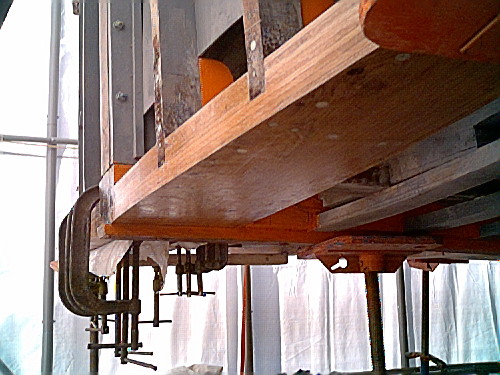
Each 5/8" strip of oak laminate is dry fitted and ensured to have the
curve of the old frames of either side. Together, all four oak strips
make for a 1.5" oak frame. When all four strips are correctly fitted
and cut to the proper length, they are then painted with West System
epoxy and clamped into place. The advantage of laminated frames over
steam bent frames are first that the wood is encased into a resin so
that it's impervious to rot and second, laminated frames are insanely
strong and hold the shape that they're clamped into. As a side note,
there are now newly built wooden skyscrapers in the world thanks to
this technology -- including a 86 meter wooden skyscraper in
Milwaukee.
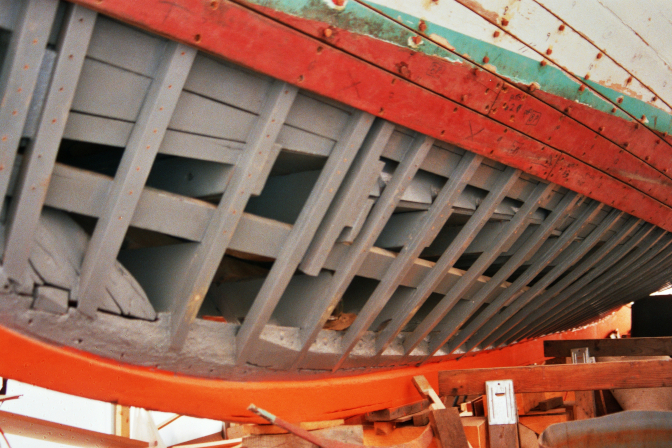
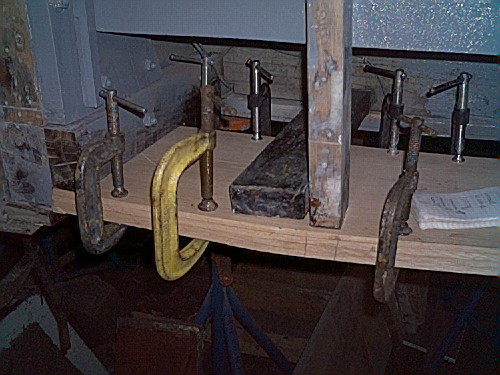
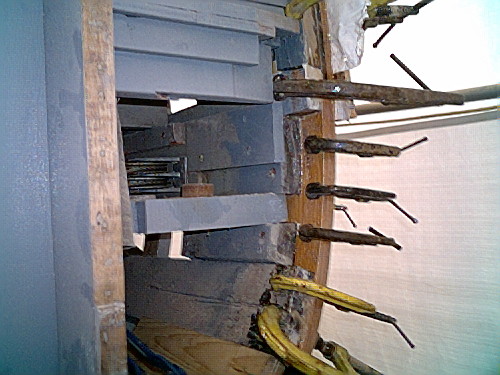
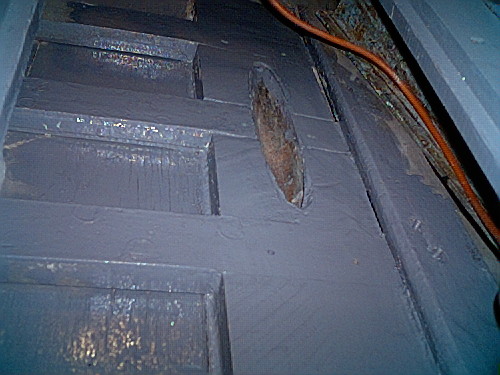
Not only were the bottom frames rotten but also the transom was
extremely rotten. Backing into a pier would have sunk the boat from
catastrophic failure in the stern. So we had to put in a new transom
starting with the underlying large framing. Of course, 4-ply laminated
oak.
Above are pictures of the rotten frames that underpinned the transom. There was nothing left to work with and it all had to be replaced.
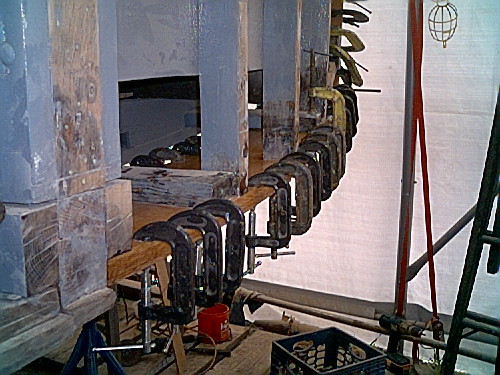
Below are pictures of creating the large transom frame out of layers
of laminated oak. Lots of clamps needed to secure the oak for a good
bind with the epoxy. Aside from where the vertical frames went, the
bottom frame was now 8-ply instead of 4-ply. We were able to keep the
original vertical frames - for what it's worth.
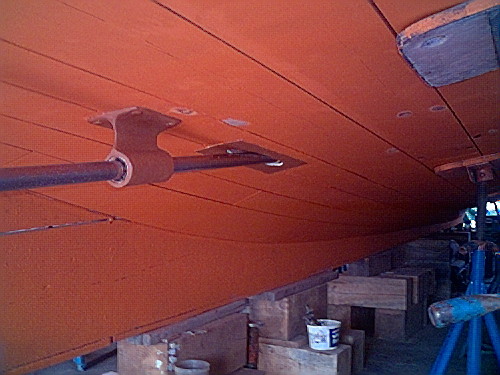
Inside of the boat, the shaft logs also needed to be rebedded for safety. This is the point where the propeller shafts pass through the hull. Having these shaft logs leak would ruin your day. Additionally, the labor for fixing it at a later point would be much higher than just ensuring that they are secure now.
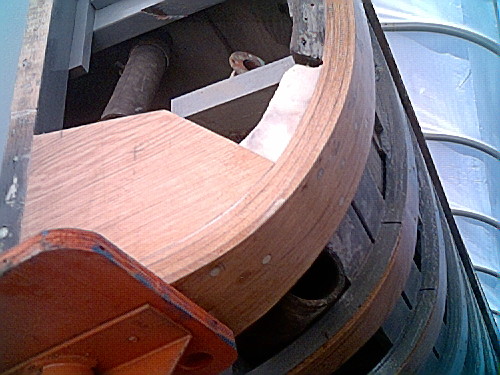
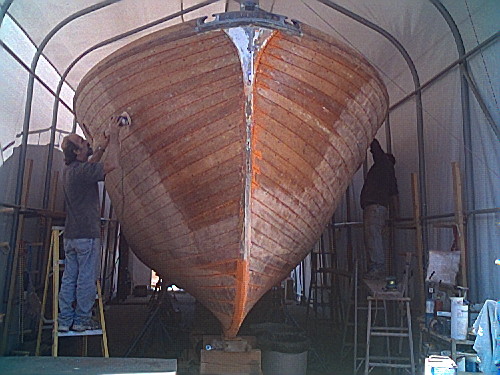
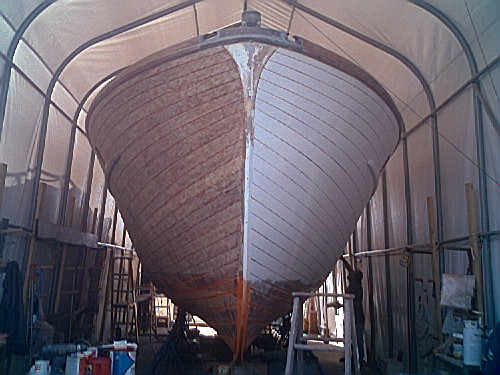
With the frames replaced and a new transom in place, it was time to
replank the boat. What planks that were saved were evaluated for
soundness. Those that were in bad or marginal condition were marked
for replacement. We already knew that the garboard and adjoining
planks needed to be made since the first boatyard destroyed them in
the initial disassembly. Fortunately, a fairly large amount of the
planks were still in good shape making my work in carefully removing
them worthwhile.
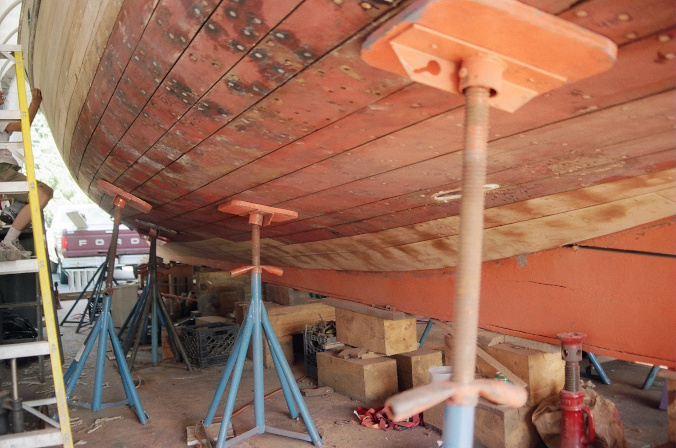
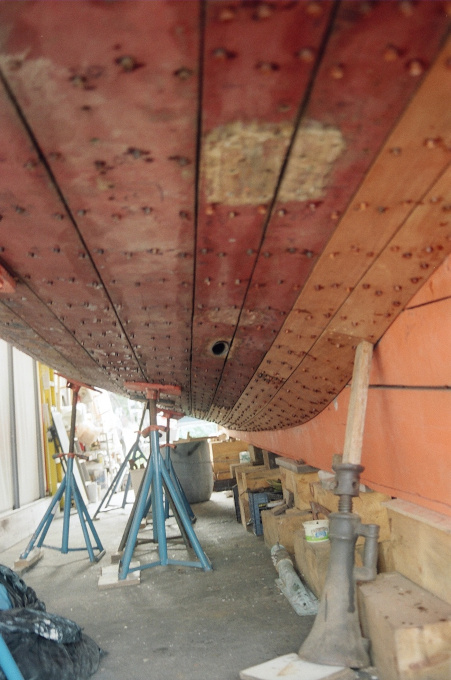

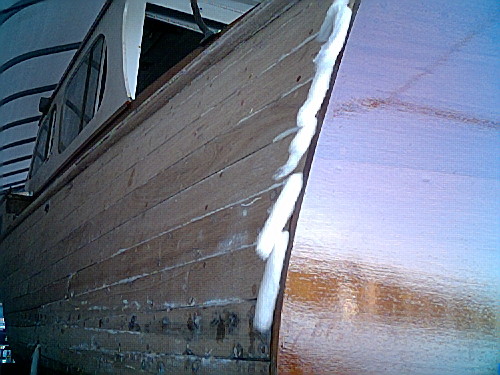
After all the planks were back on, the next step is to caulk the seams with cotton. This entails tapping cotton strips in with a caulking iron into each seam's length. At the very top, for the planks that were never removed, the caulking needed to be pulled out and replaced.
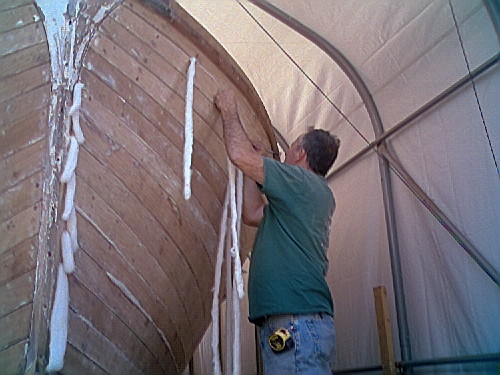
With this done, each seam needs to be treated with red lead paint. The
lead is an inert metal that does not wash away or disolve. It's toxic
to the fungal spores that cause rot. When it's painted on wood, it
stays in the grain forever to protect it.
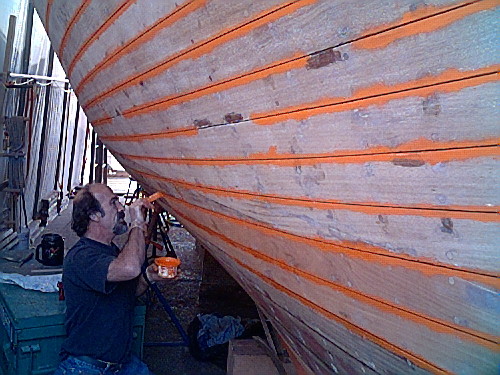
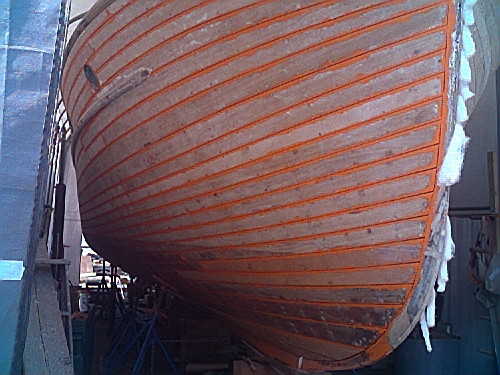
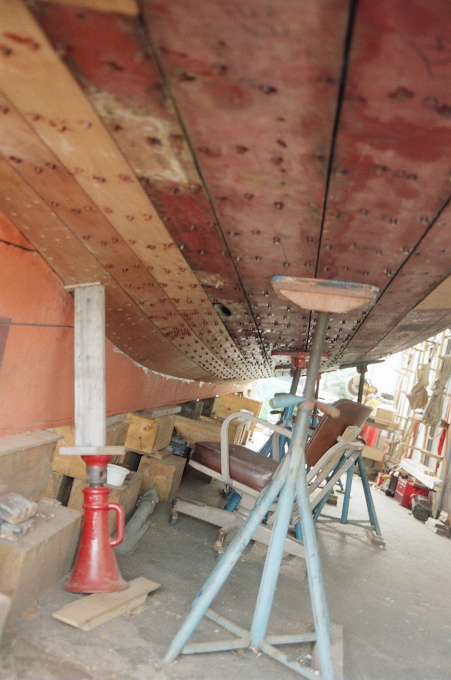
The next phase is to put in seam compound to complete the seams to be
flush with the plank surfaces and then sand the hull to prepare if for
painting. Here we have the initial primer coats starting to go on.
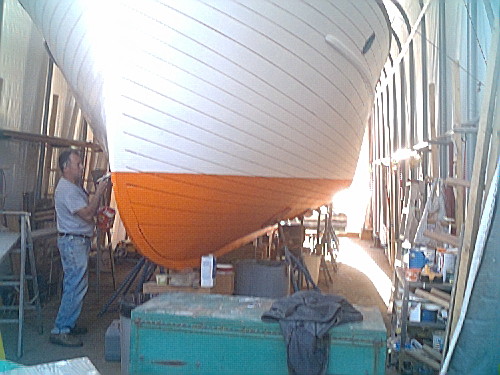
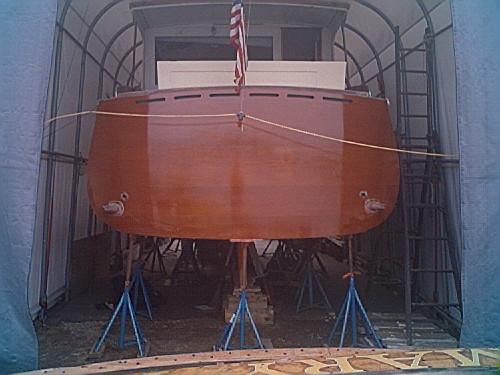
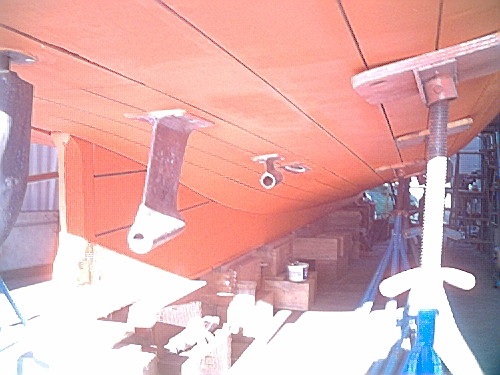
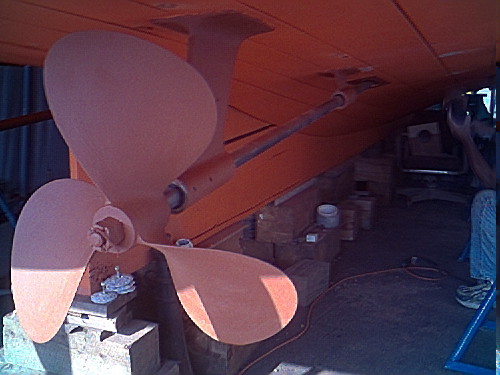
Now we have the mechanical assembly of putting in the propeller shafts and rudders as well as the final coat of paint.
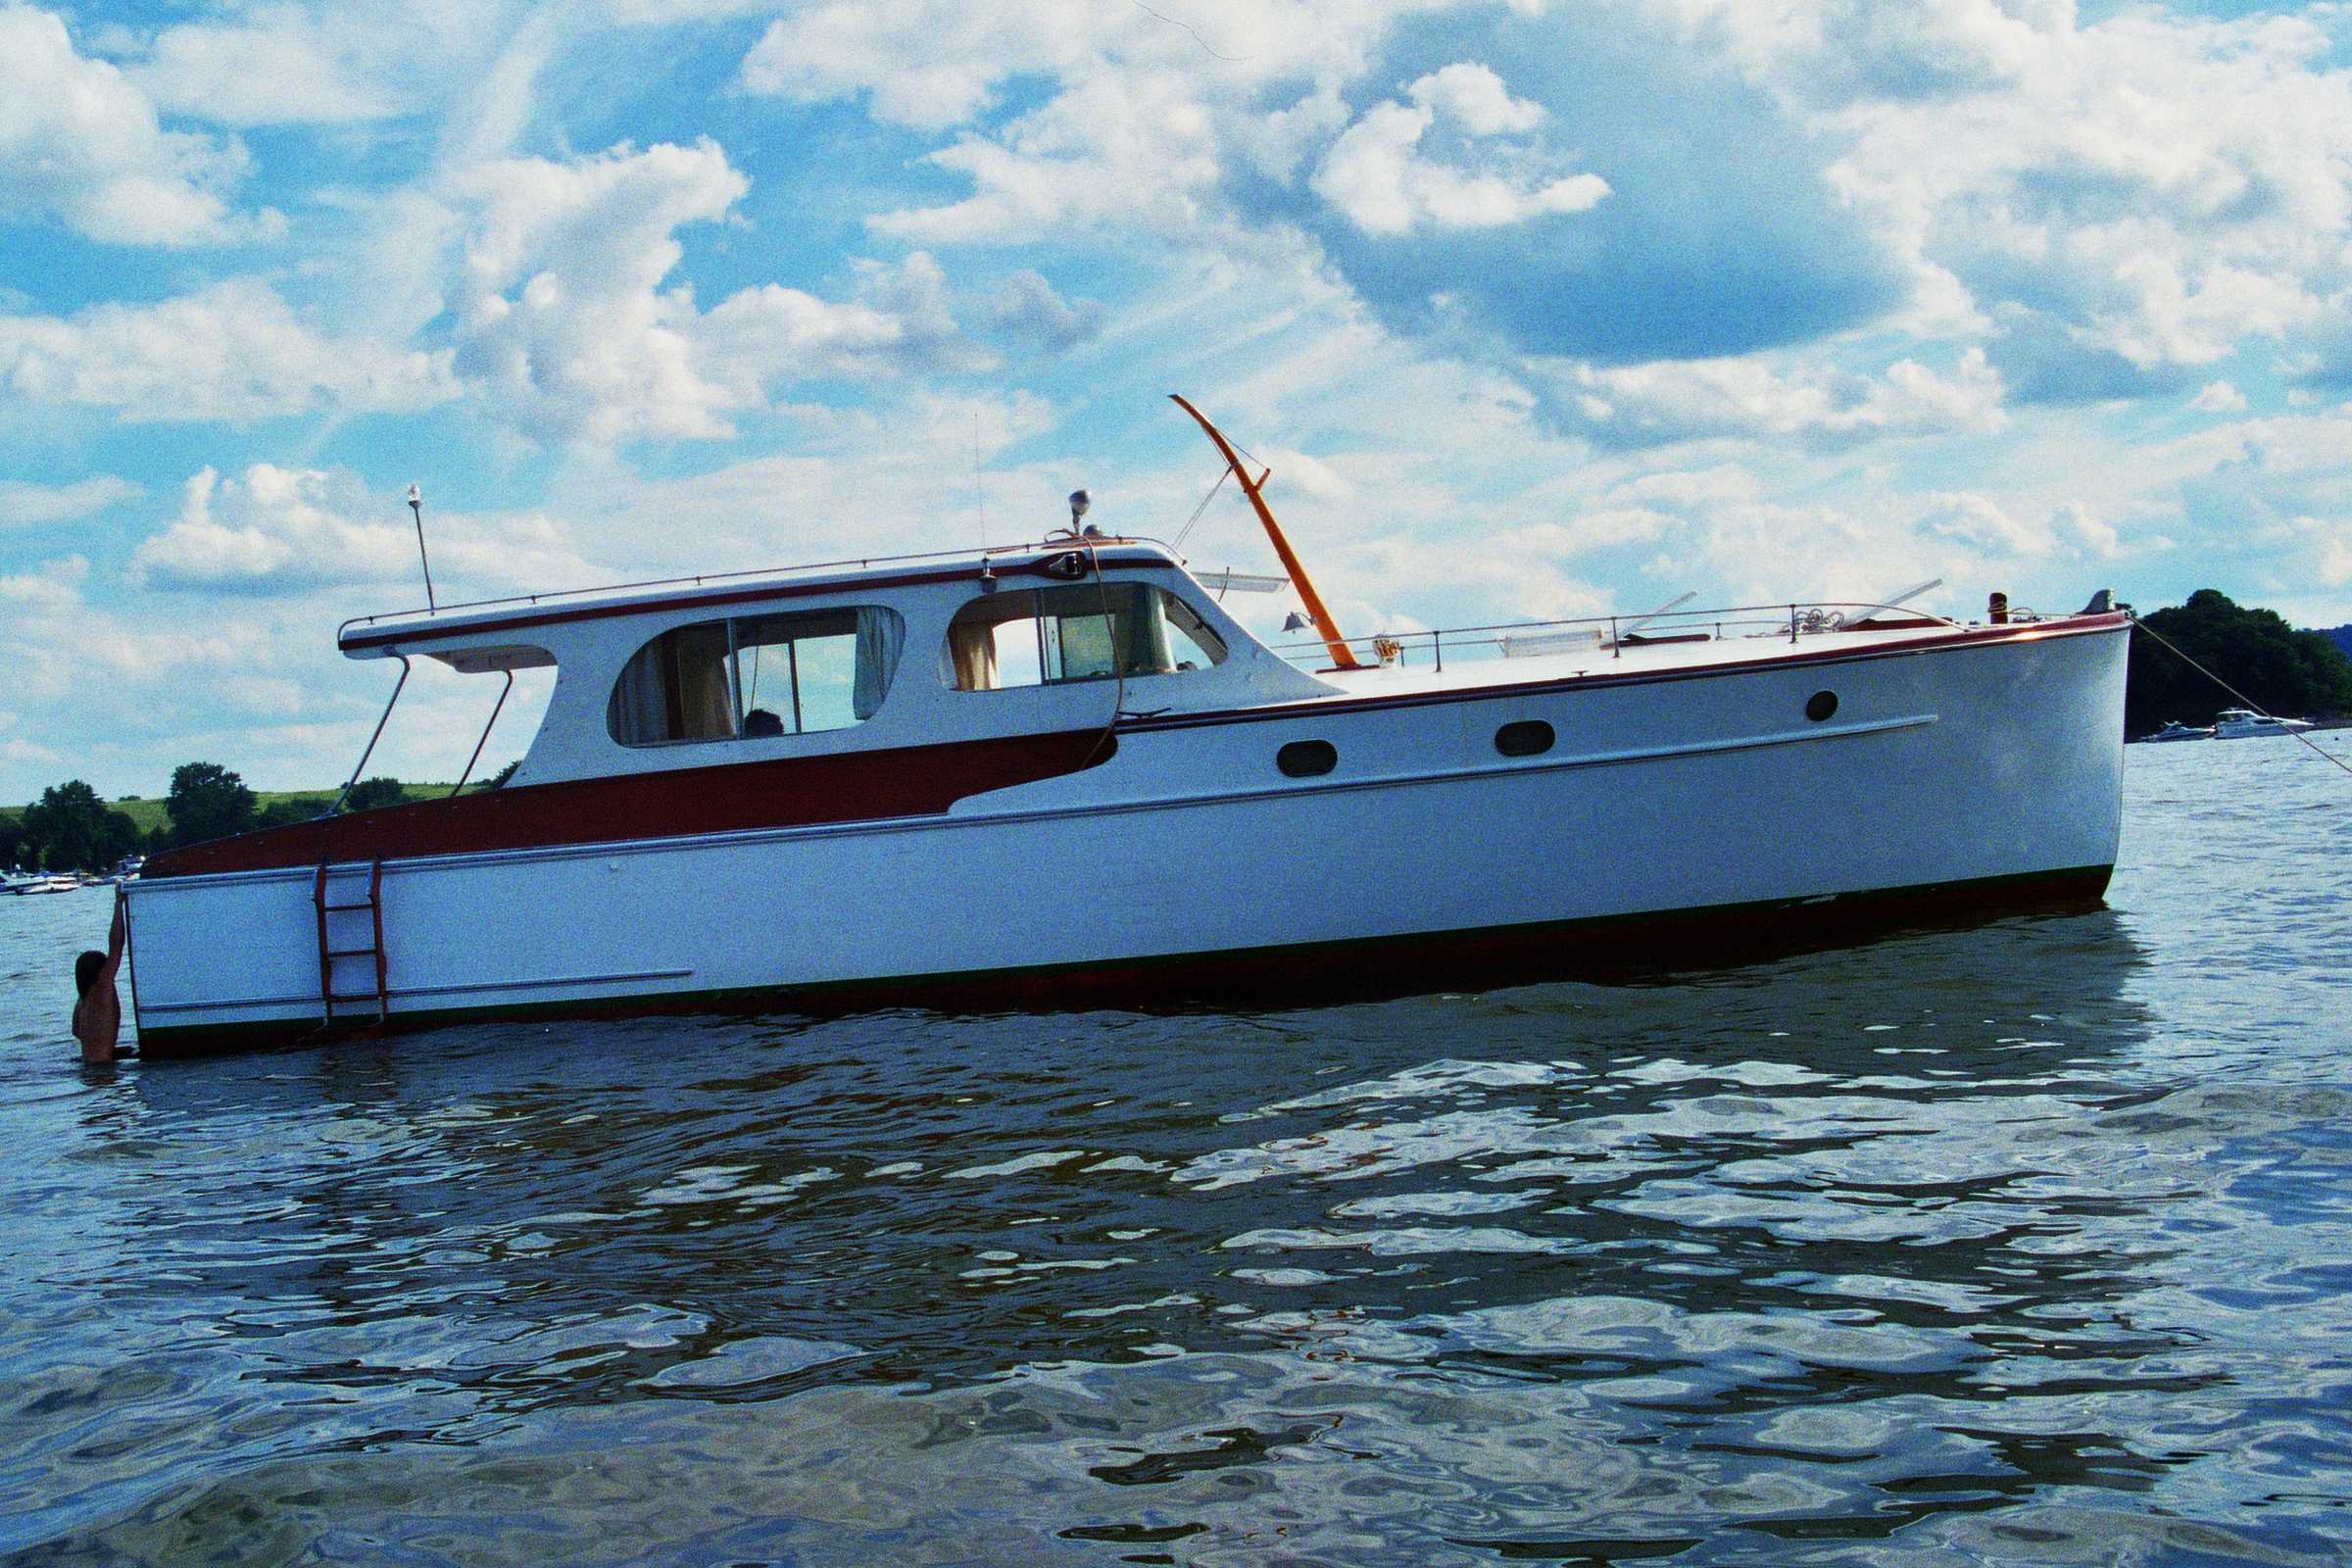
We finished the work in the spring of 2008. I had my siblings come in
to celebrate the launch as a family reunion since all of them had
spent some time on the boat. My sisters had a great time reading the
log that my mother kept of all of the voyages. When they got to the
last page with my mother signing off, they had a nice boo hoo. It was
cute.