Superstructure Rebuild
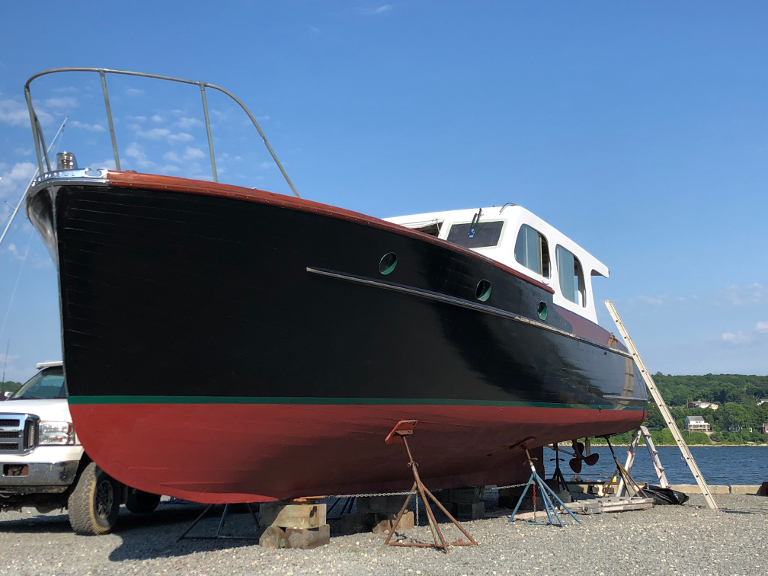
Despite the Band-Aid process that I did addressing the rot in 2016, I was losing the battle against the elements due to the boat being in the weather when it wasn't designed to be for an extended period. Here is a classic case of sunk costs: with the hull work done and new engines, it was running great with a sound hull. Nevertheless, it was rotting from the top down and I needed to deal with it or lose everything invested to date. So in the fall of 2017, it went back to my friend, Barry in Berkley, MA, who rebuilt the hull ten years prior. It turned into a tremendously involved process to rebuild the decks and just about all surfaces that saw the weather. It also led to all of the ceilings being replaced inside. It was a terrifying process because the boat was in a million pieces with disassembled parts everywhere. I lived up there for the last months of the job and would lie awake at night obsessing about where a certain part or hinge was.
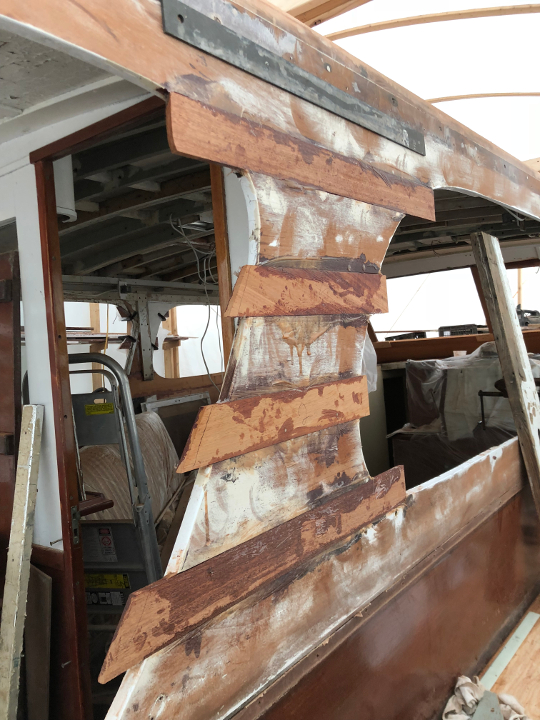
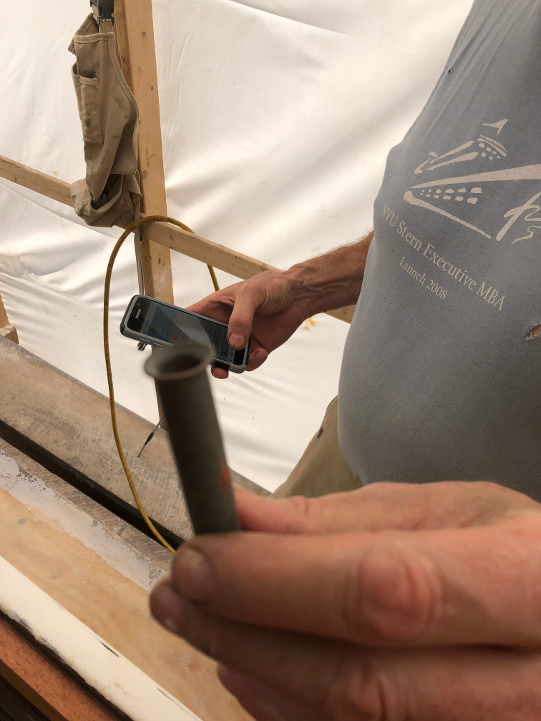
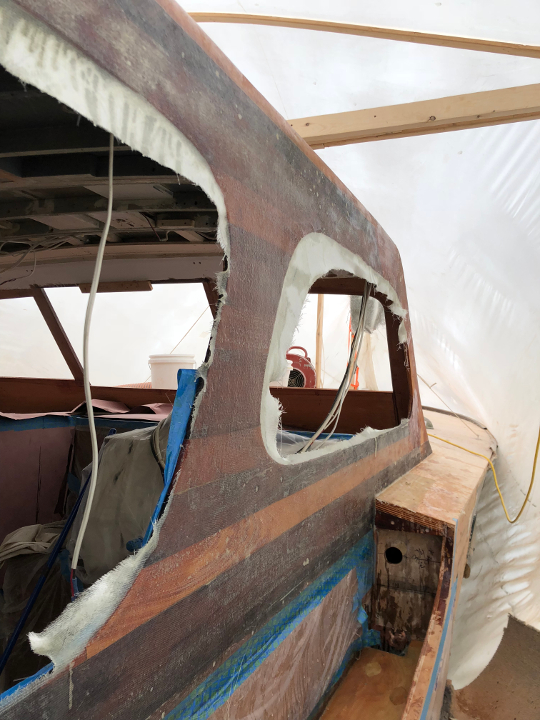
I knew that the side decks were soft under my feet. I also knew that these Matthews always develop rot at the step area on the sides where you walk up to the bow. Nevertheless, the degree of rot was far beyond what I could have imagined.
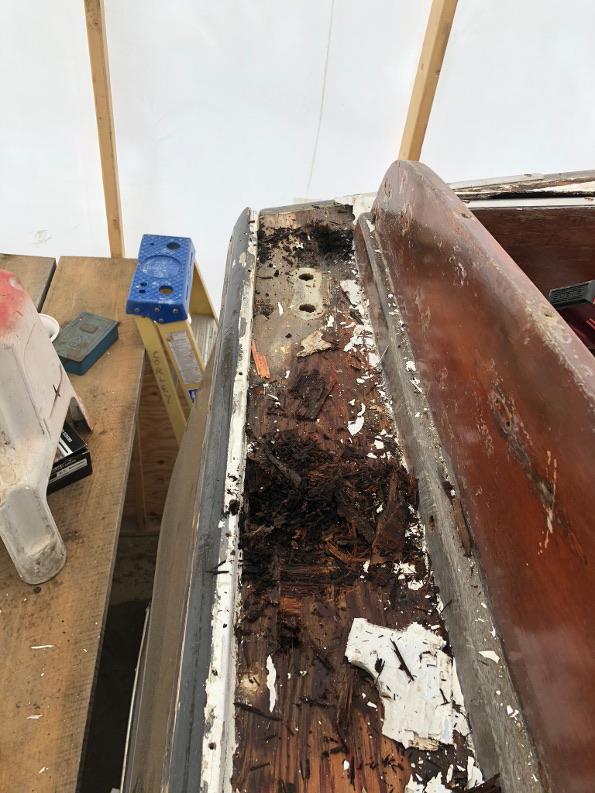
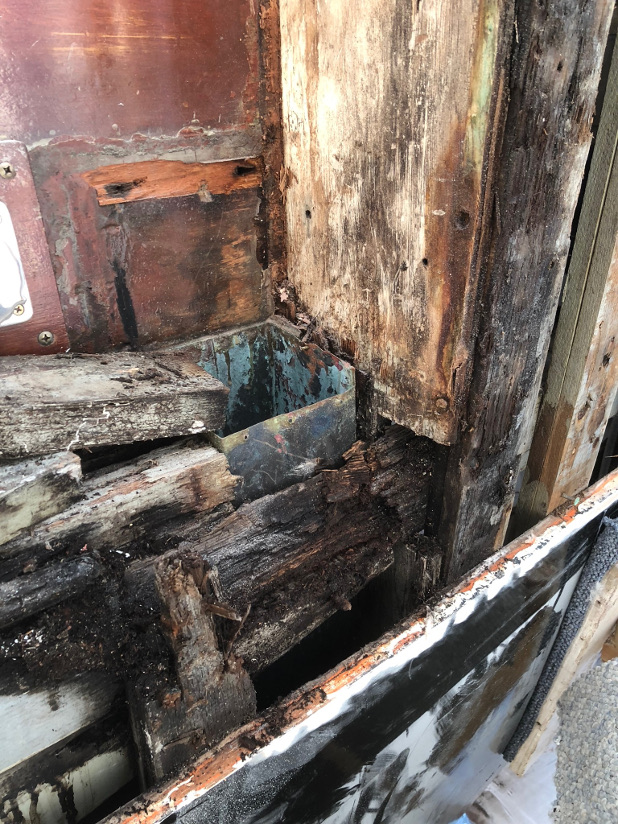
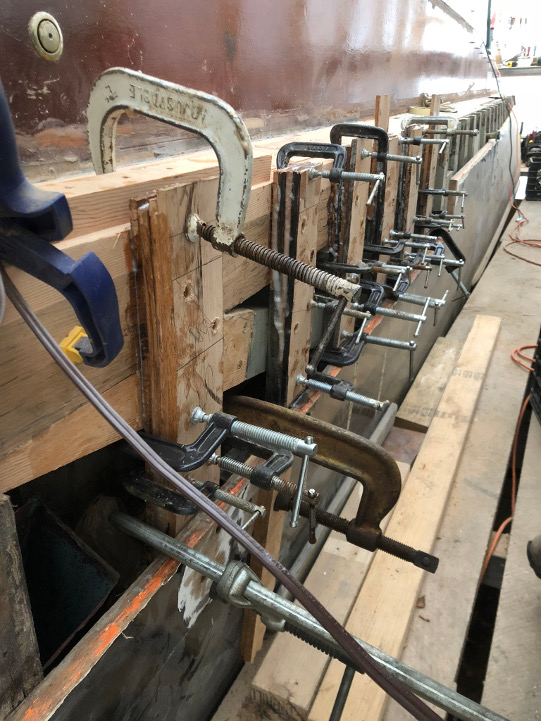
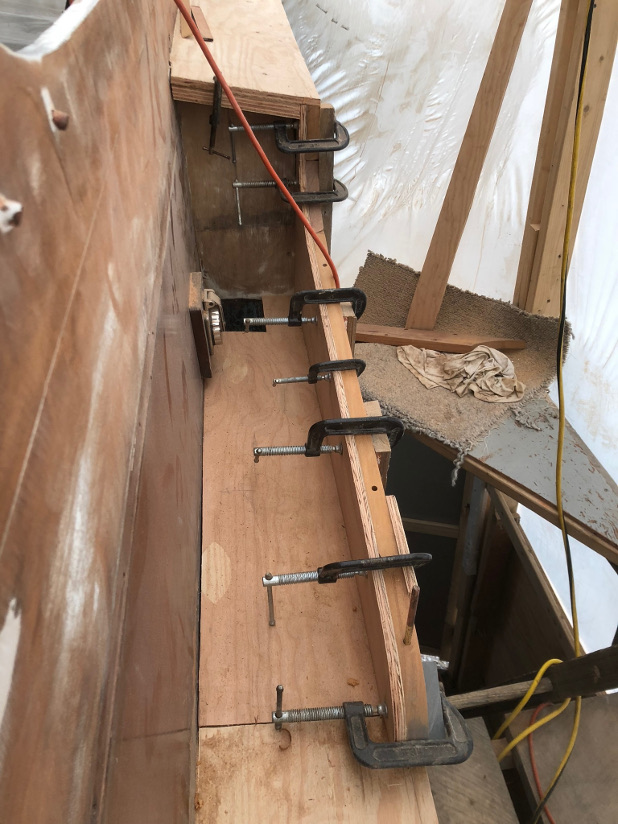
At the step area, there is also a large longitudinal frame that
had rotted out. It provides front to back stability. Without it,
several hours of bashing into a head sea could compromize the hull and
begin to break its back.
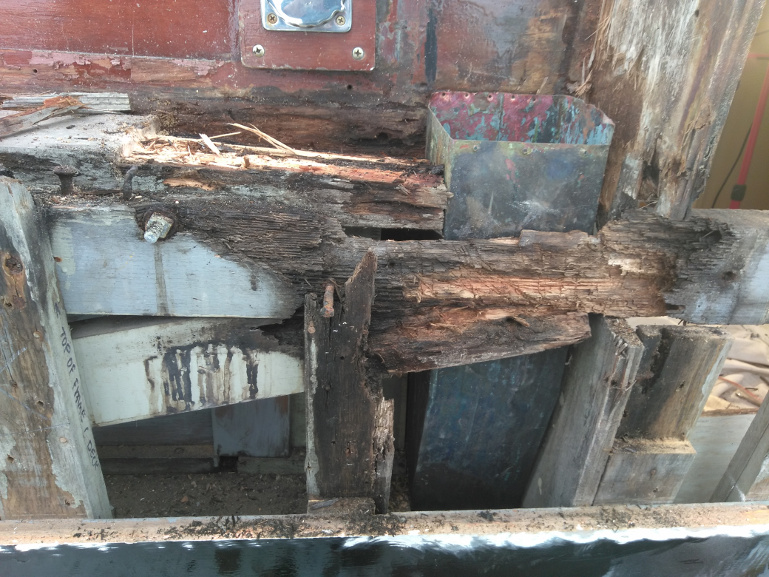
The bottom two pictures above are of the completely wasted frame that's important for longitudinal strength.
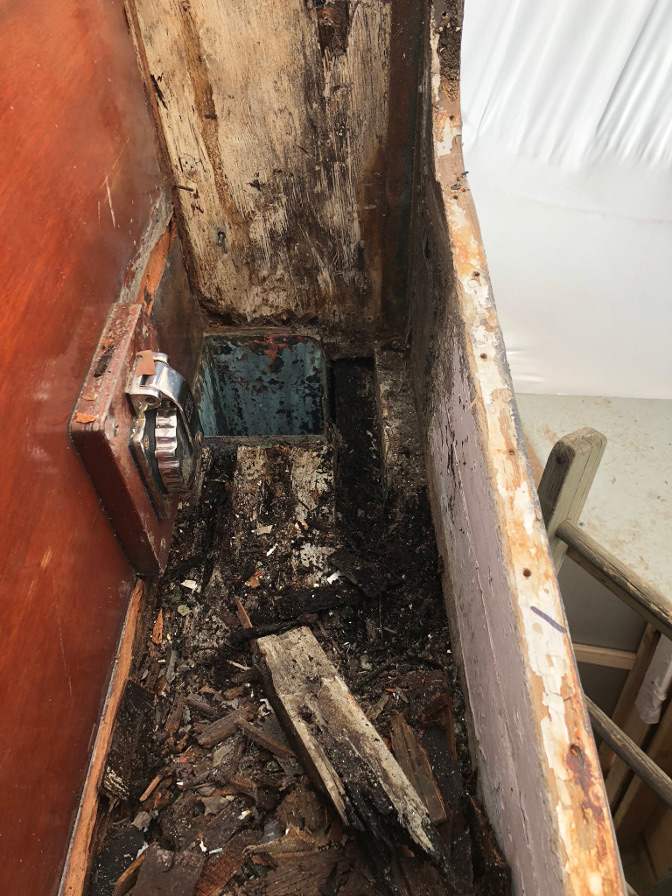
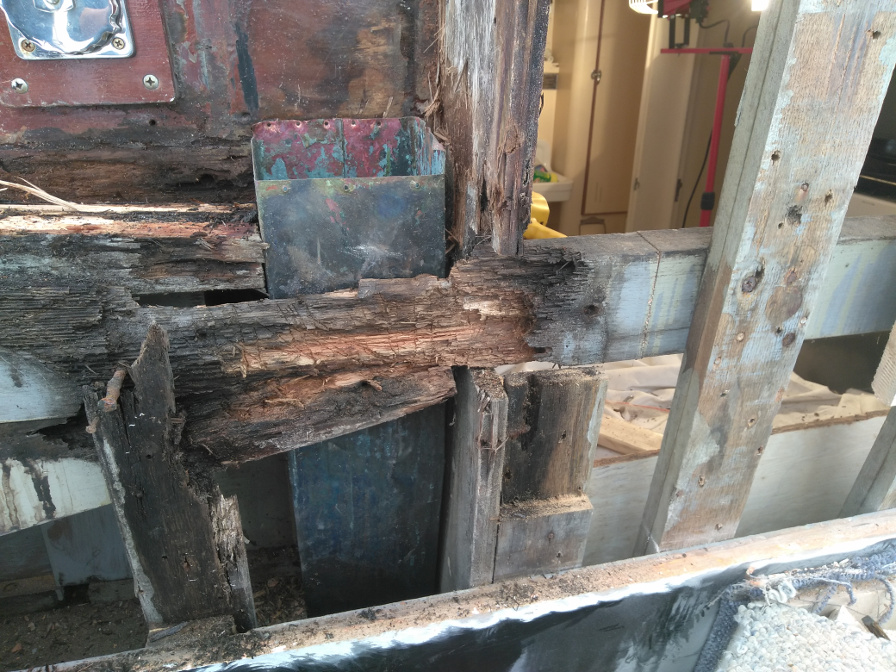
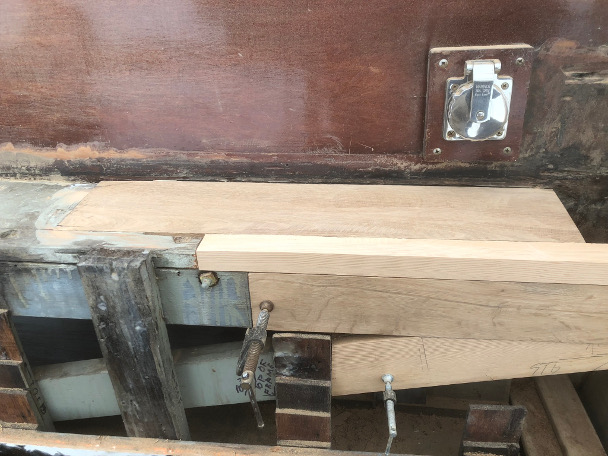
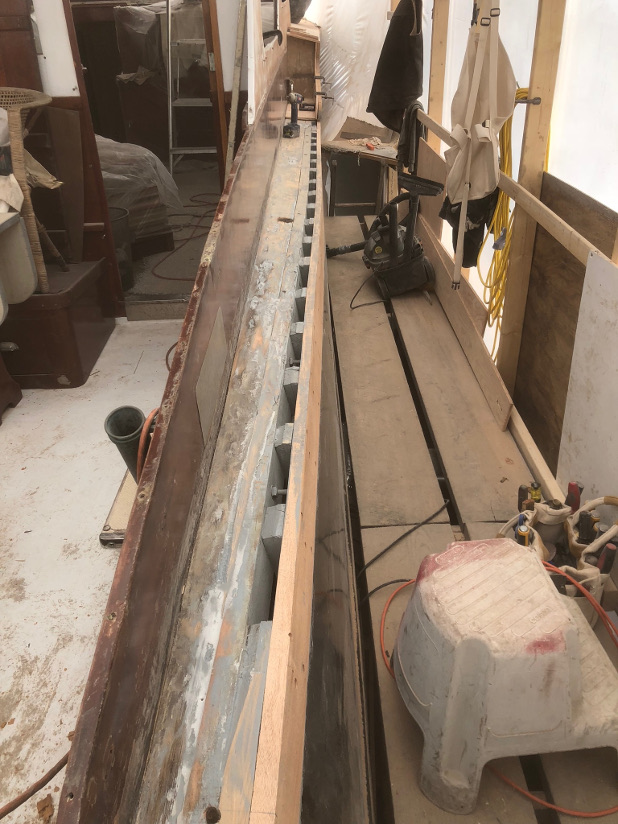
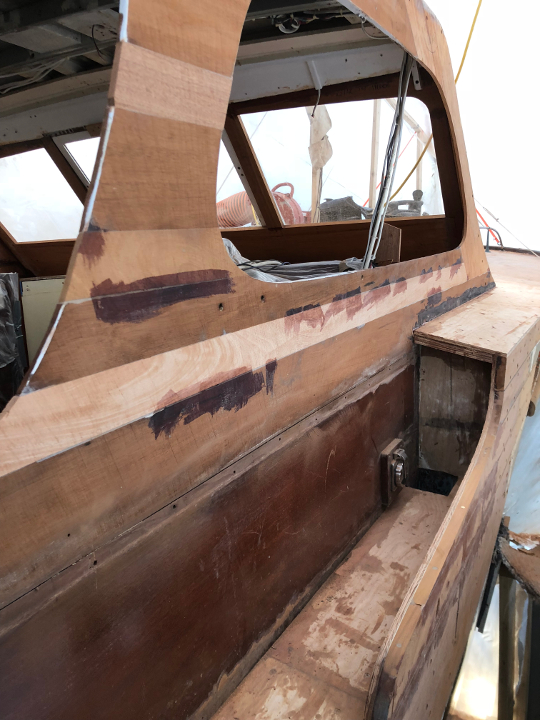
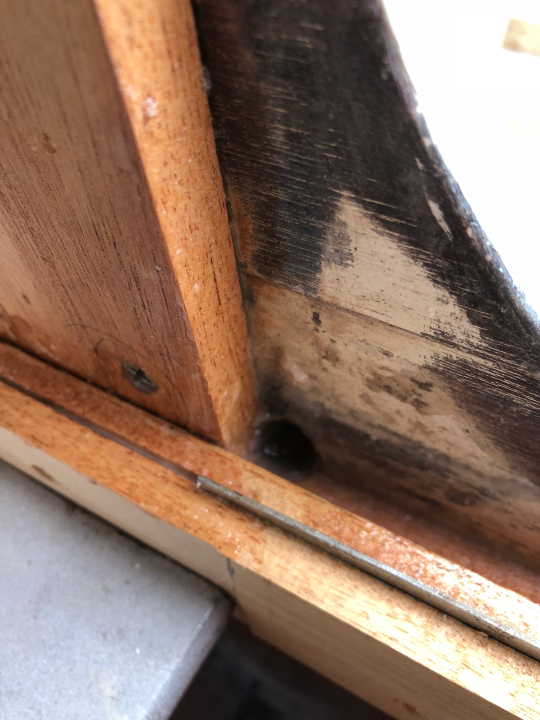
The way to fix it is to remove the rot back to where the wood is
still solid and epoxy and bolt in fresh wood. On the left below, the
longitudinal frame is replaced. On the right, the rotted parts of the
frame tops have been removed in a step fashion just like during the
2008 rebuild in order to replace the missing part with 4-ply oak
laminated frames.
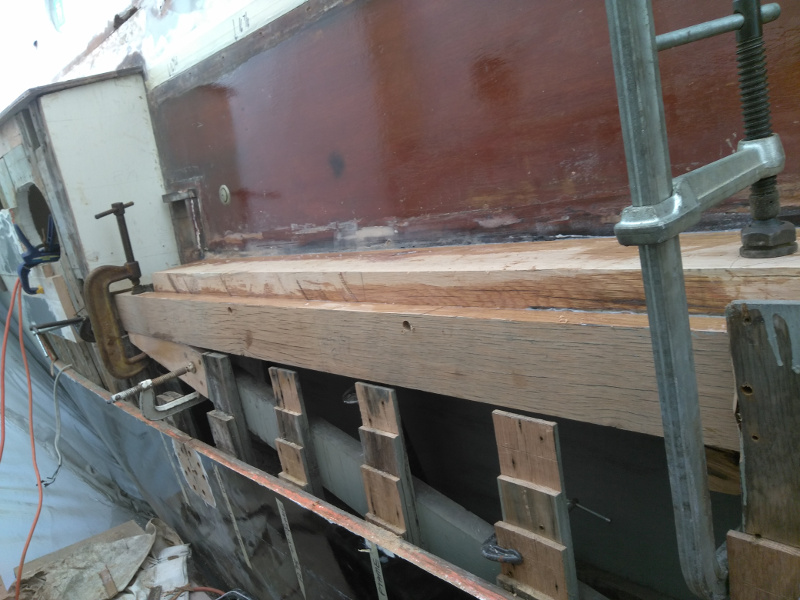
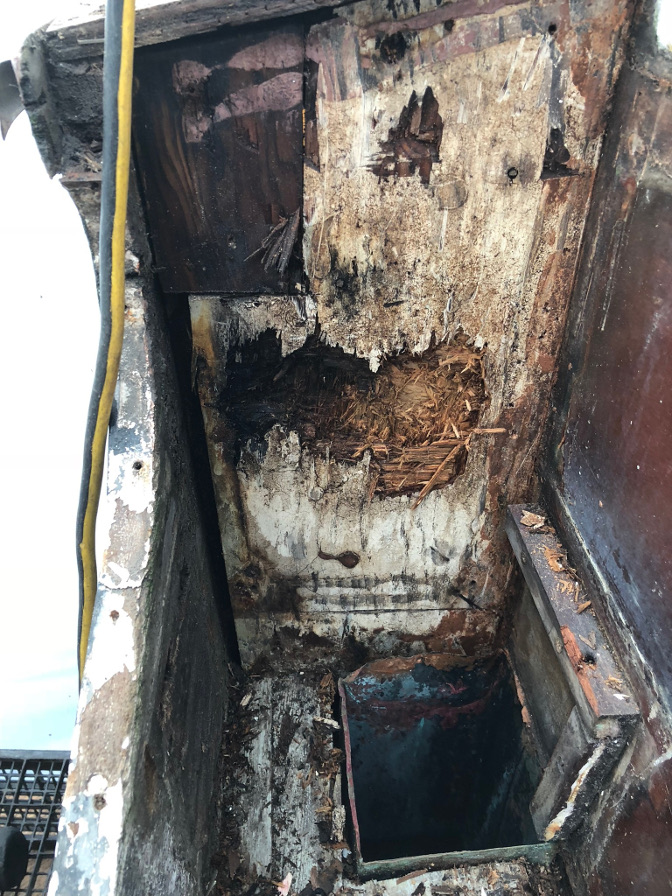
In the below pictures, you can see the new 4-ply frame tops
being epoxied back in.
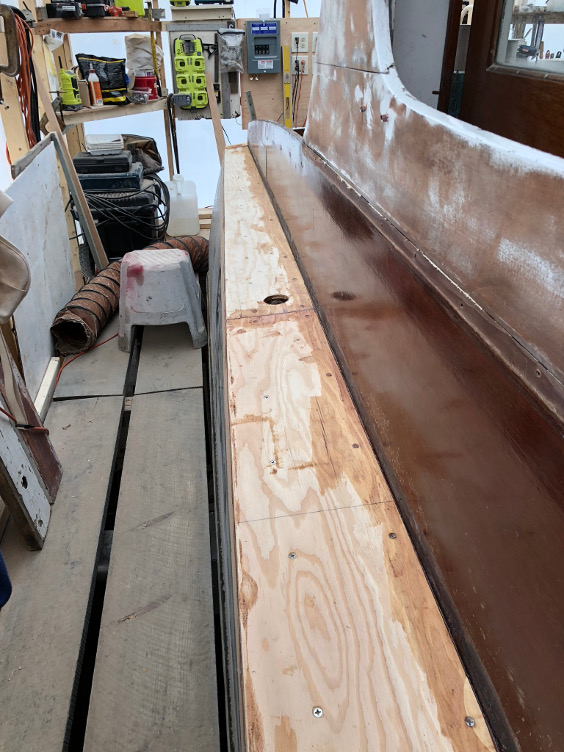
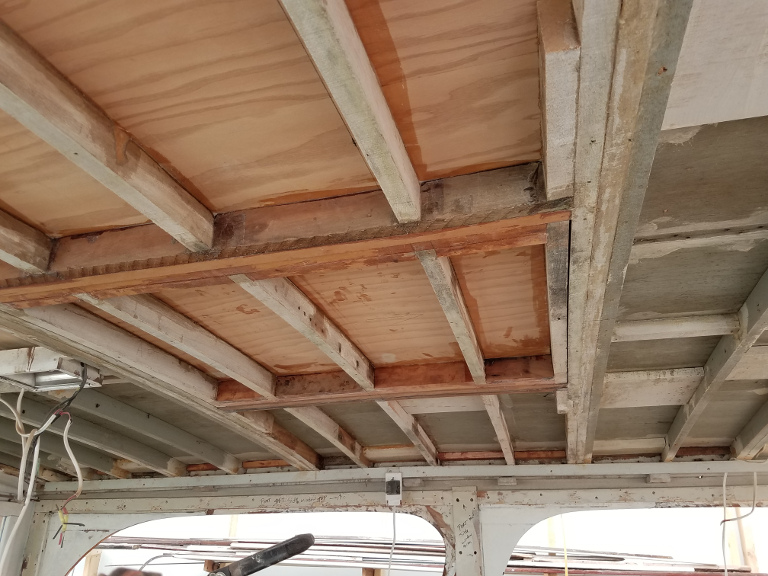
With the tops of frames back in place and the top plank
replaced, a new deck can be put down of marine plywood encapsulated in
epoxy.
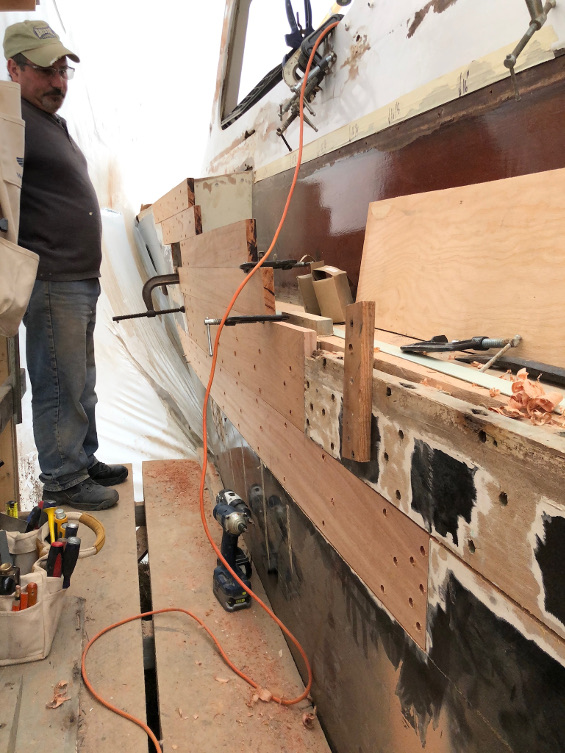
Well discussed among fellow Matthews boat owners is that these
boats - as designed from the factory - always rot out at the steps due
to all water from the bow having to run over the steps on its way down
the side decks to run off the stern. This wasn't a great idea because
you want rainwater to get off a boat in the shortest path to prevent
rot. We're going to shorten the path to have it run off just before
the step at the bow and just after the step before it can run down the
side decks. Additionally, the step area around the vents to the engine
room is going to be a fiberglass bathtub. There will be a wooden step
however it will be sacrificial. When it rots, it can be easily
replaced but no rainwater will get into the boat's interior.

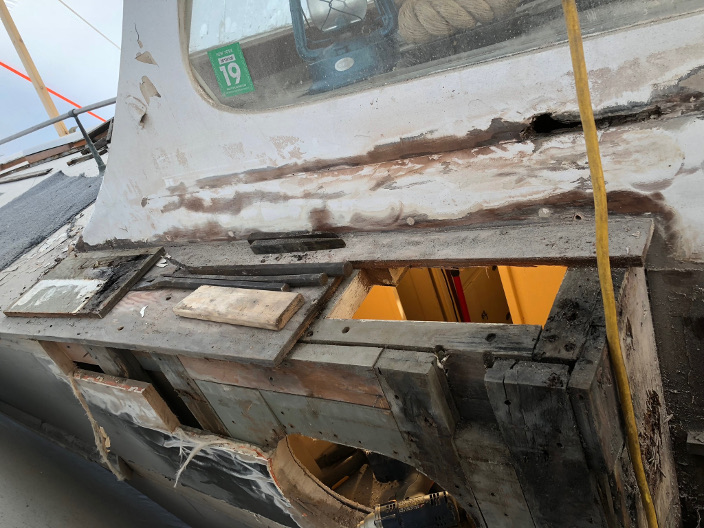
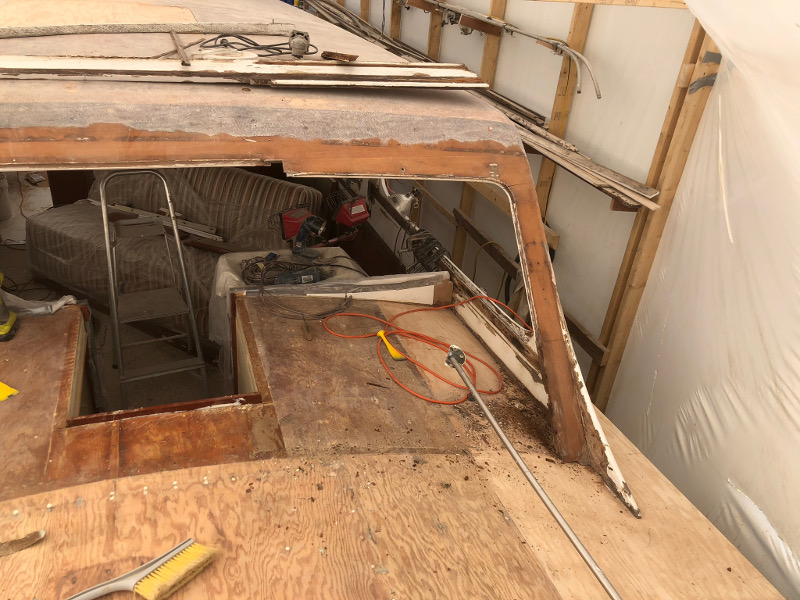
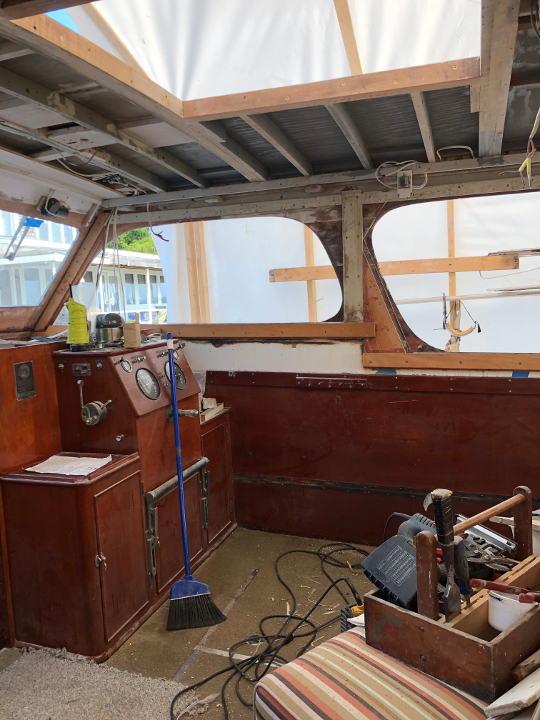
One unfortunate repair was fixing the roof after the previous
boatyard cut the hole in it for the engines in 2016. They had cut
through the arched frames in the roof and then did a bad job of
sistering them before then repairing the fiberglass. The roof had a
sag in it. Because the boat gets trashed every time an engine has to
come in/out, the need for a hatch doesn't go away. So we decided to
just make a proper hatch that has decent framing to keep the roof
strong. This way, when an engine next needs to come out for repair or
replacement, I can just drop the ceiling in the salon, pull some bolts
and hopefully push up the hatch.

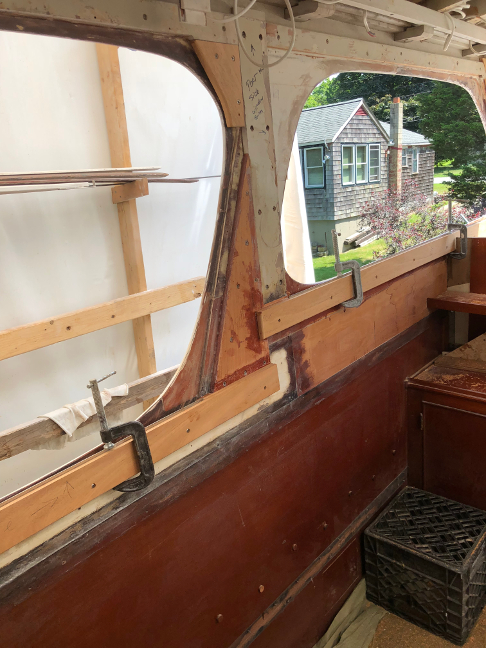
When Matthews assembled the sides of the house, they made them
out of mahogany planks and held them together with wooden dowels.
Those dowels are long gone. For this reason, there was nothing holding
the planks on the house sides together keeping them situated over each
other and the side stable. In order to grant stability to the sides,
the service of the dowels was replaced by a practice of shiplapping.
Here, a router is used to create a channel on either side of the
plank's seam. Then mahogany strips are epoxied in this channel and
clamped to dry. Once dry, it's sanded flat to make for a joint that's
stronger then what the factory made.


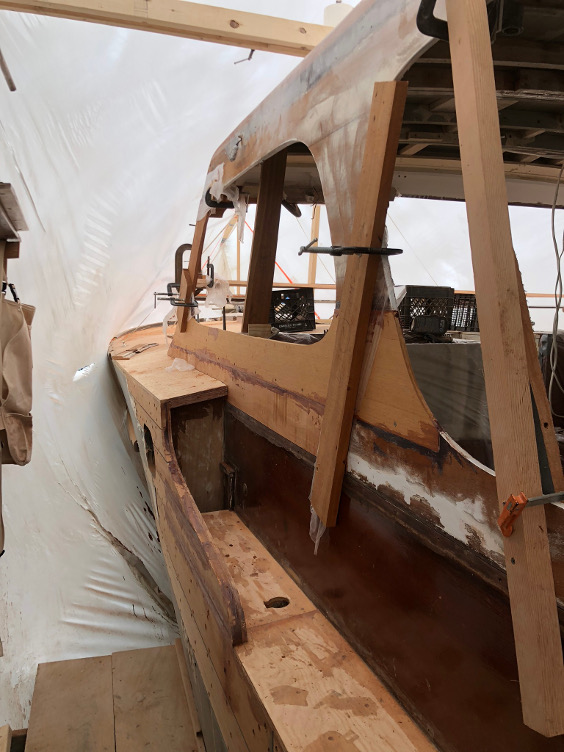
The windshield was too far gone to save so it was disassembled
and the pieces used as guides to make a new one.
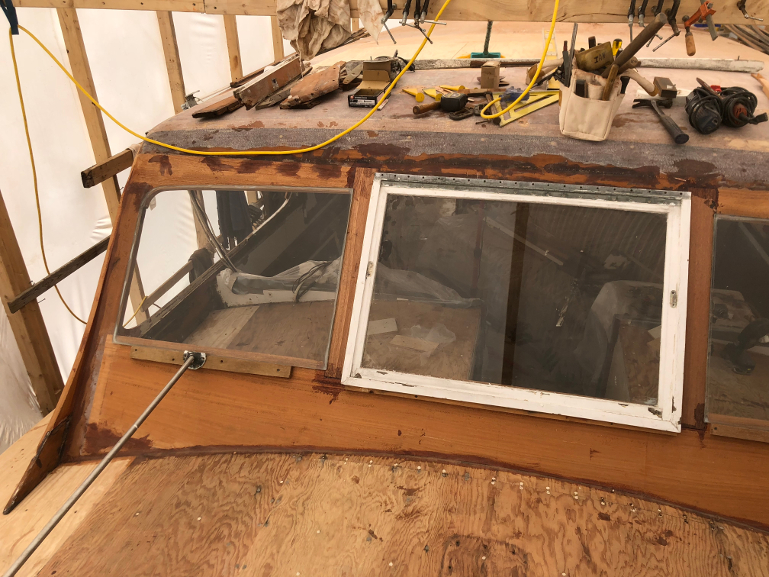
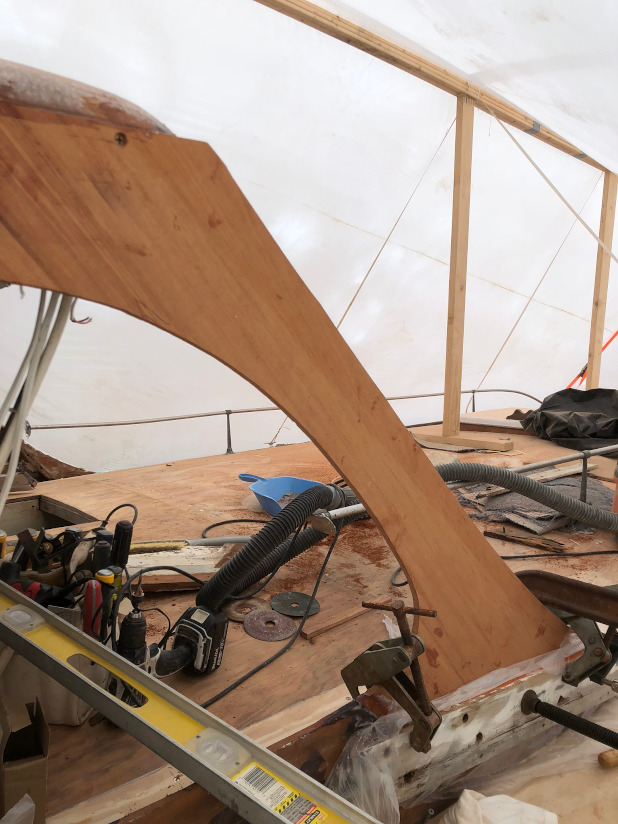
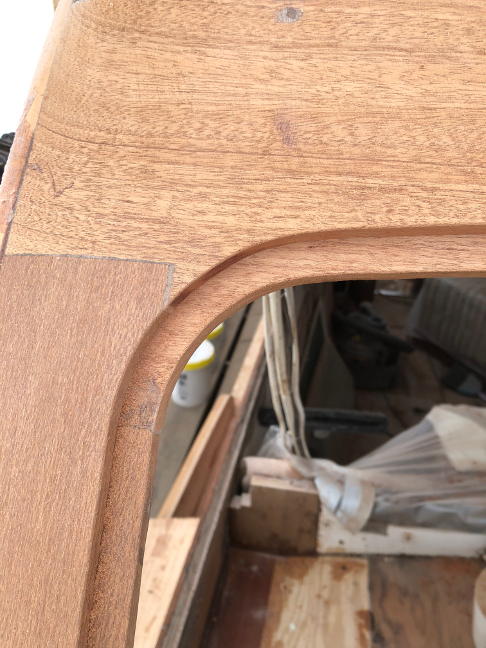
We made some improvements around the windshield. The original A
pillar was made from multiple pieces of horizontal wood just like the
rest of the house that was shiplapped. Instead, we just used one piece
of wood diagonally for simplicity greater strength. To prevent leaks
around the glass, the seats in which the glass will sit were made
wider to hold more caulking. You can also see the quality of joinery
that Barry did throughout the job.
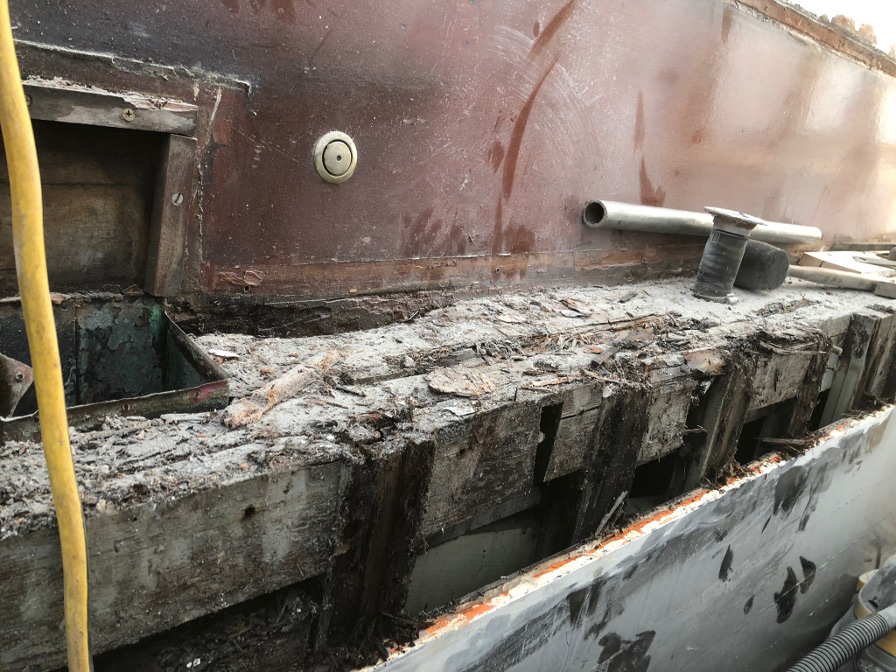
And ongoing problem with this boat was that the boxes in which
the sliding windows sit on the sides of the salon did not adequately
drain nor were watertight. As a result, when it rained, the water
would leak out of the boxes into the wood of the house sides, down the
walls and onto the floor. You can imagine the rot damage that this
would cause. The pictures in the 2016 repairs showed the extent of the
rot that I was dealing with. There are two window boxes on each side
of the salon for the sliding glass windows. Because of this issue, the
boards that held these boxes had to be replaced on both sides. Here
are the fresh boards going in to replace the rotted pieces.

In addition to replacing the boards holding these window boxes,
a big goal in the reconstruction is to make new window boxes that
won't leak. This means to have a channel that will hold the metal
glide strip in which the channel is lined with a thick layer of epoxy.
Additionally, extra large drains are added to get water out of that
channel as quickly as possible.
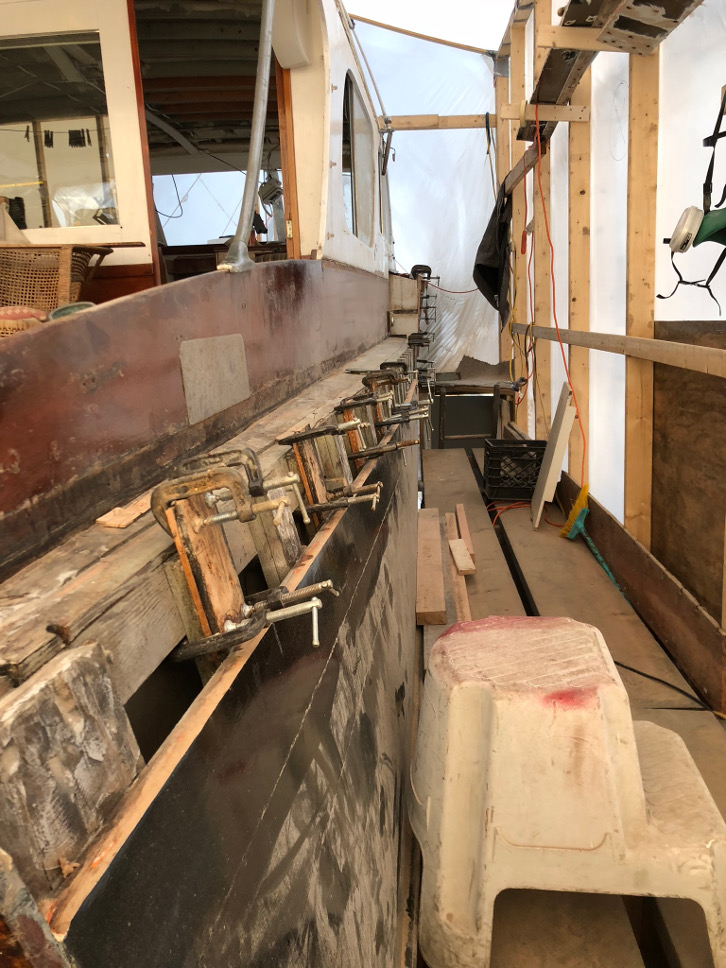
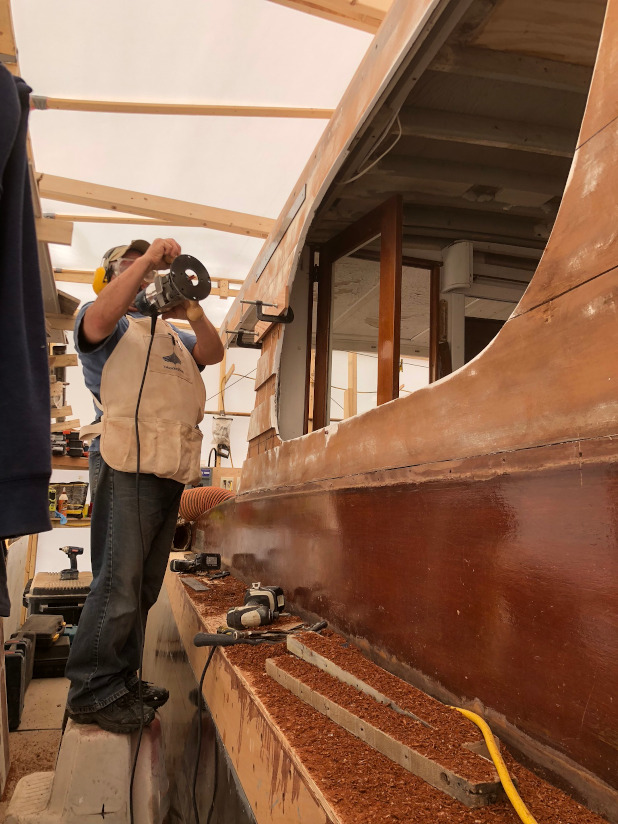
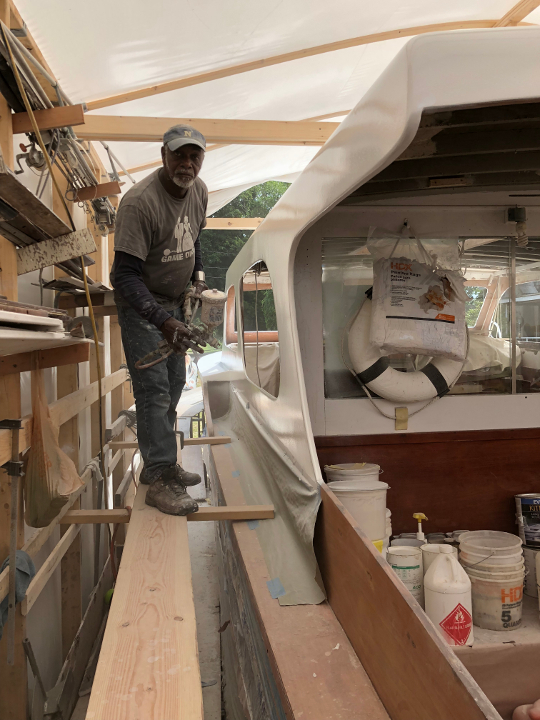
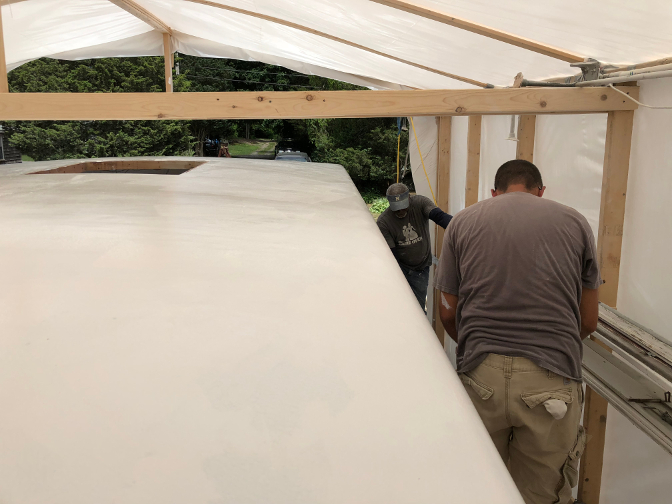
With the repairs made to the superstructure, the next phase is
to encapsulate all decks and exterior surfaces in fiberglass. This is
done in such a way to ensure continuous surfaces and prevent rainwater
intrusion. Rainwater intrusion was the downfall and reason for this entire job. With a full covering of
fiberglass, this boat can now handle the lack of covered boathouses
and sit out in the weather like modern boats. We covered the
fiberglass with white gelcoat, an epoxy coating that cures at room
temperature and provides superior chemical, abrasion, moisture, and
thermal resistance. Everything that's white on this boat will now be
gelcoated fiberglass.
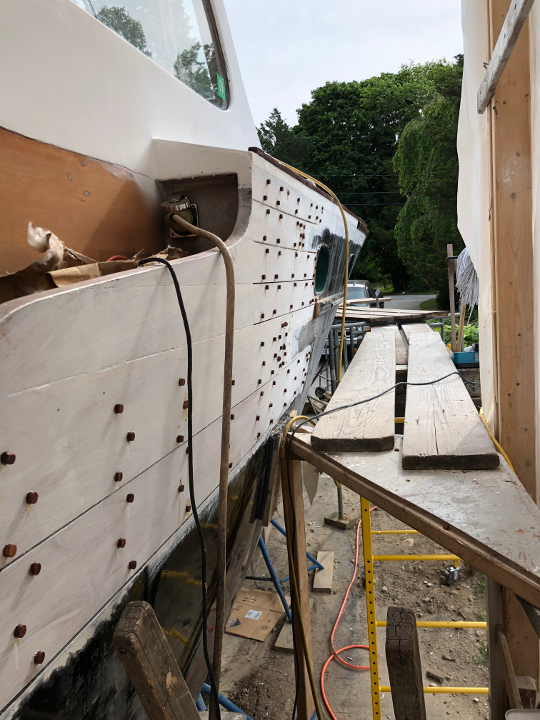
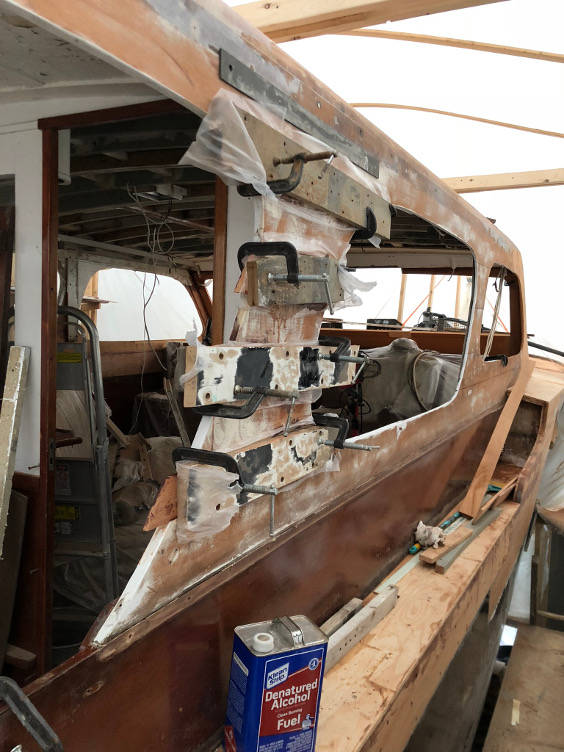
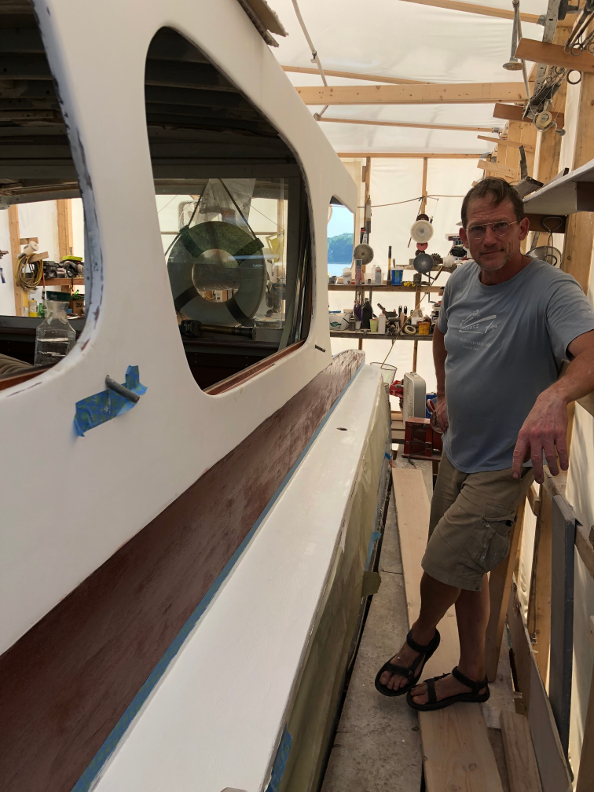
With the fiberglassing &
gelcoat done, the task remained to button up the boat and finish the
remaining punchlist of items. The picture on the left is of the final
putting back together the step area.
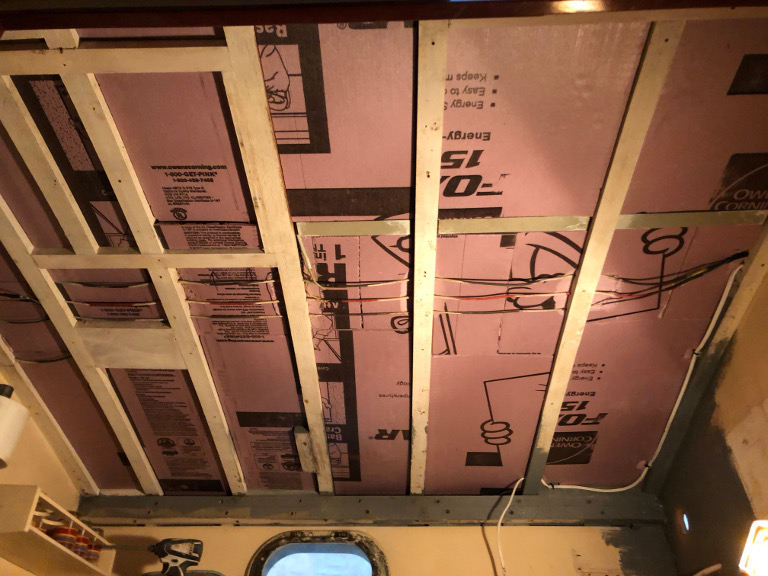
The picture on the right is of the insulation that was put in the
ceilings since all of the ceilings were being replaced. The original
ceilings were made of vermiculite particle board. Vermiculite is a
mineral mined in Montana that was used in the early & mid 1900's
because of its insulating properties. After over 60 years of various
leaks and general wear and tear, it was time to replace it. We used
insulation board that was losely suspended to ensure airflow to
prevent rot. Over this, we put 1/4" plywood that was painted a matte,
white finish.
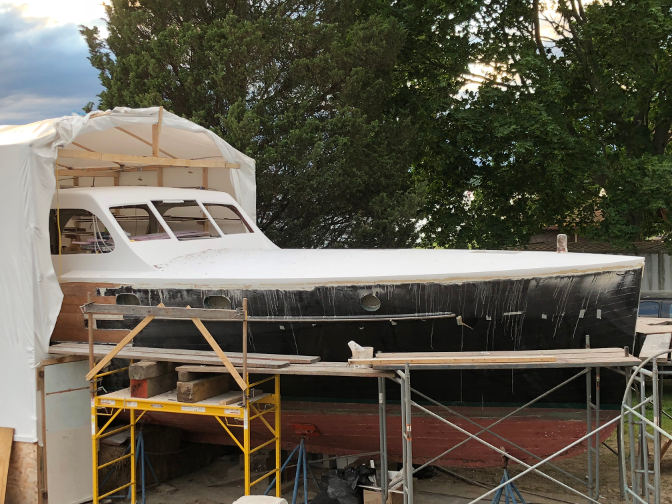
The remaining tasks were to reassemble the boat, and repainting the
hull and bottom.
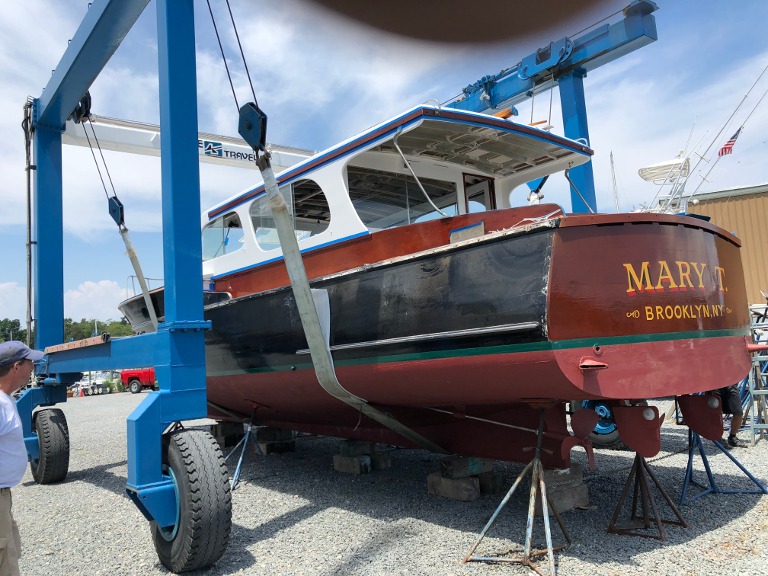

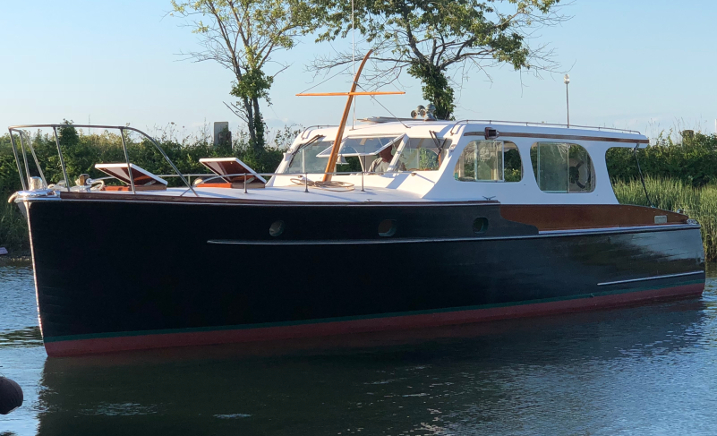
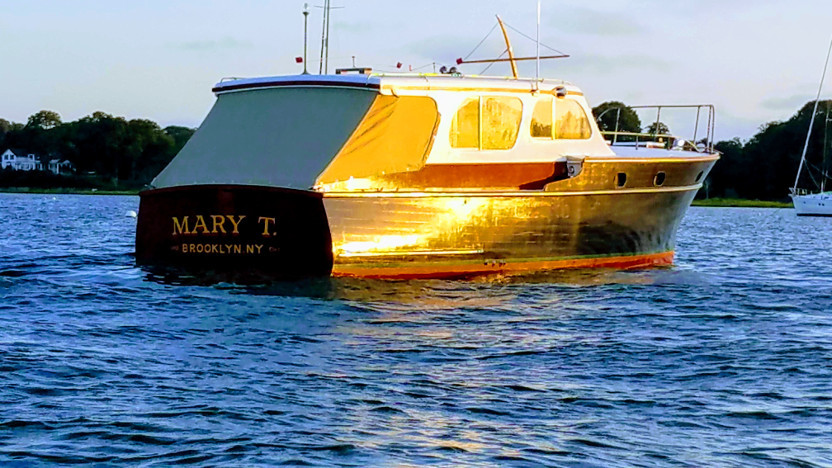
Once we had it back in Shelter Island, we spent a week putting it back together from being a construction site to a home. After that, it was ready for a summer vacation to Cuttyhunk and Martha's Vineyard. After getting back from the Martha's Vineyard after a great week, here's a parting shot at the MaryT happily at its mooring.