

PuTTY
PuTTY is a powerful SSH/telnet program used to access your Panix shell account. The following instructions will show you how to configure PuTTY to connect to Panix.
Obtaining PuTTY
You can download PuTTY directly from the PuTTY downloads page.
Before You Connect:
There are a few settings that need to be changed. Here is a screenshot of what you'll see when PuTTY first starts up: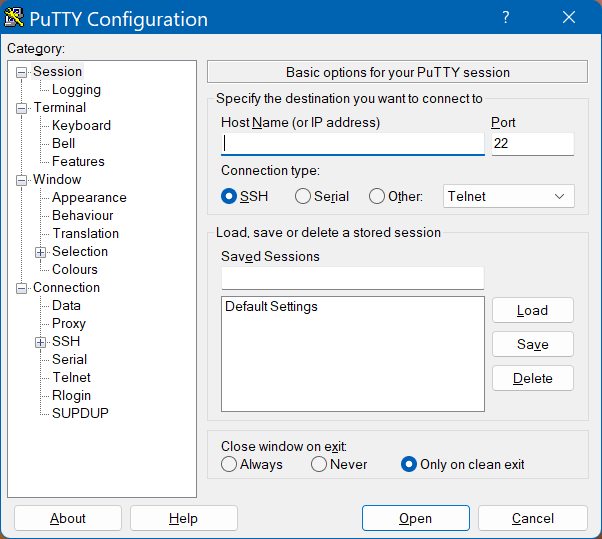
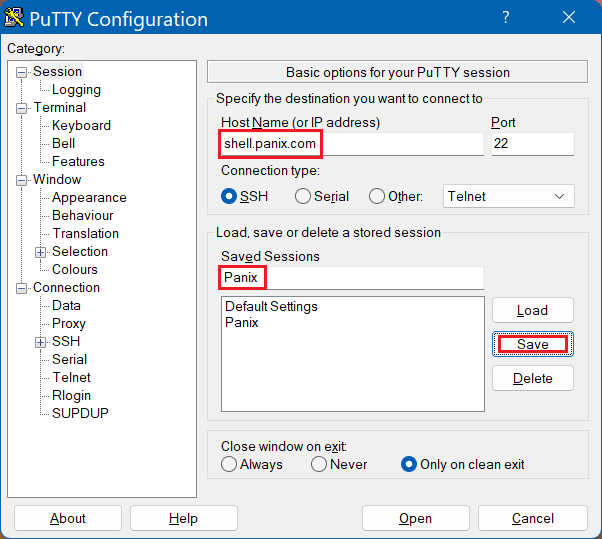
- In the 'Host Name (or IP address)' box, enter 'shell.panix.com' (without the quotes).
- In the 'Saved Session' box, enter a name you'd like to remember this session by, for example, 'Panix'.
- Click 'Save', and the name of the session will appear underneath 'Default Settings'. From this point forward, you can simply double click the name of the session and you'll automatically connect to Panix.
Establishing a New Connection:
Double click the name of the session you've just created, or highlight it and press the 'Open' button at the bottom. PuTTY will pop up a screen similar to this one: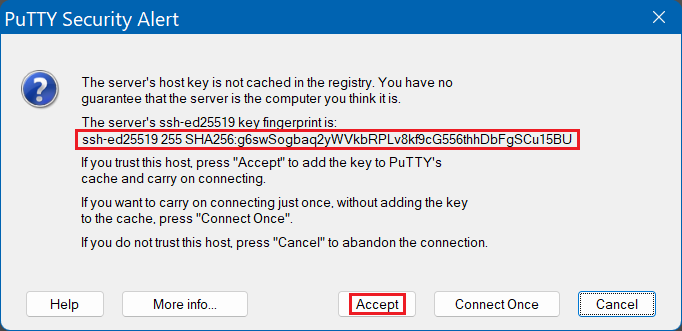
All Panix host machines have a unique key fingerprint that can be checked upon the initial connection, to make sure the machine you're connecting to is in fact the real machine, and not a stolen session. Panix keeps a copy of all our shell machines' fingerprints for comparison here: Panix Public Key page This is a one-time occurence. Once you tell PuTTY that the machine is valid, it will remember for future connections.
After accepting the key, you'll see a login prompt like so:
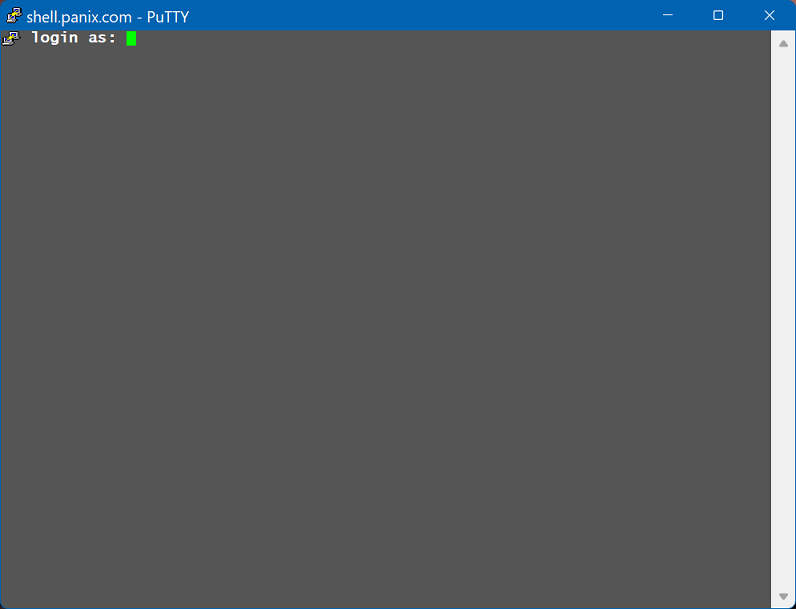
Enter your username, and your password at the subsequent 'Password: ' prompt. You'll be greeted by a 'Welcome to Panix' banner, and a shell prompt. Welcome to Panix!
For general UNIX shell help, please see the shell section of our main help pages.
Customizing PuTTY
PuTTY is extremely flexible. Essentially, anything not mentioned here can be tweaked at your leisure by clicking the various 'Category' headings on the left-side panel. This contains options for window size, font, specific keyboard settings, ability to setup SSH tunnels for other services, etc. PuTTY's homepage has a wonderful help section that describes each option at www.chiark.greenend.org.uk/~sgtatham/putty/docs.html
Remember that if you make a change to a session, you must return to the
'Session' category, and click 'Save' to make it permanent.
Last Modified:Wednesday, 22-Jun-2022 06:33:01 EDT
© Copyright 2006-2021
Public Access Networks Corporation